
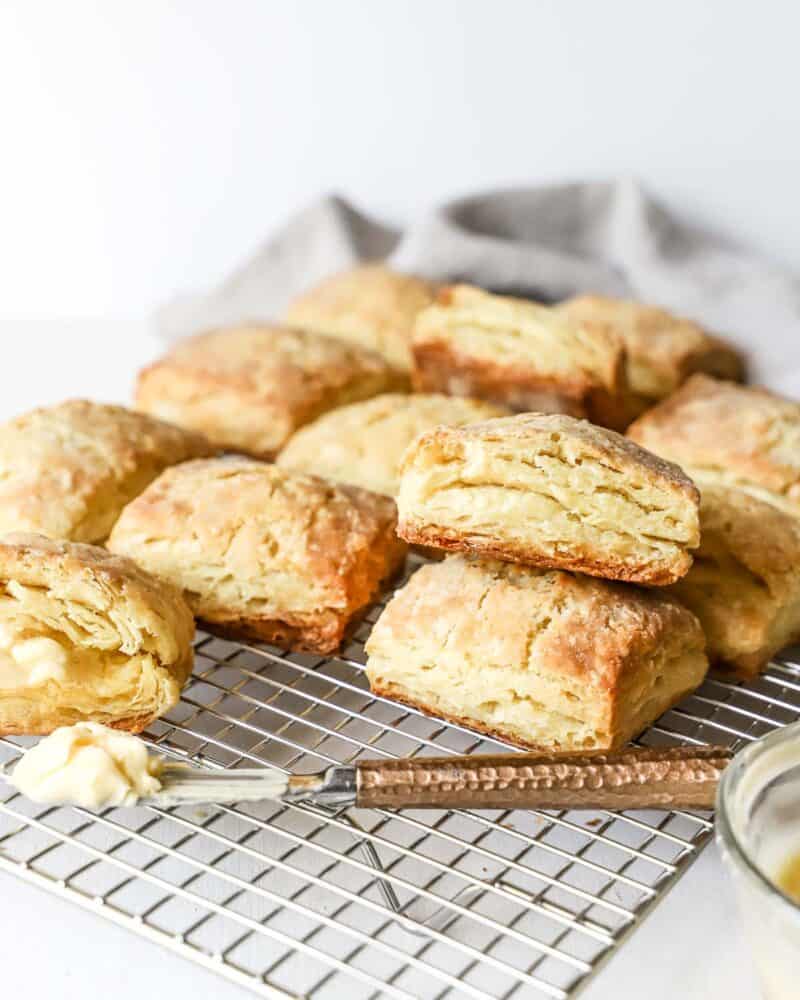
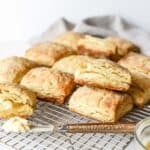
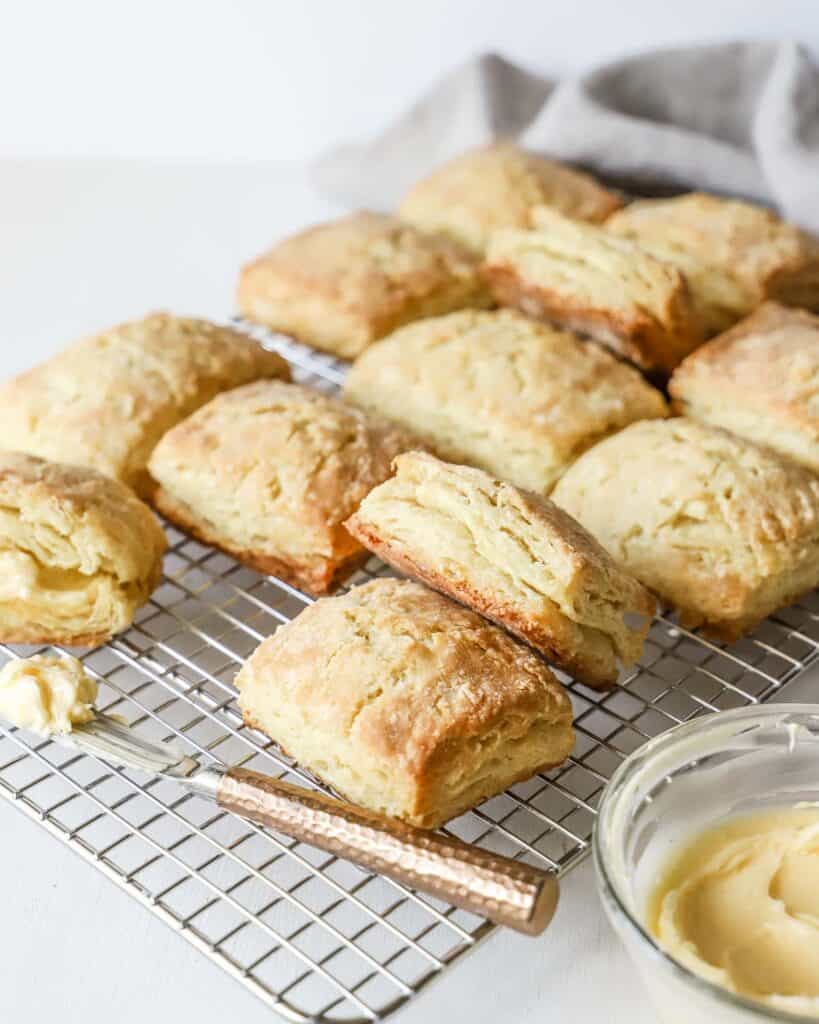
Buttery, flaky, soft on the inside, lightly crispy on the outside. These Southern-style homemade buttermilk biscuits check off all the boxes for my perfect biscuit! My family requests them every time we meet, and I won’t lie, I’m happy for any excuse to make them!
The secret to flaky biscuits – folding and cold, cold butter
Cold butter, when folded in tender layers of biscuit dough, slowly melts in the oven and produces gorgeous biscuity layers! Keeping the butter cold is essential for the texture of this biscuit. The idea is that you want the butter to stand a chance in the oven to melt slowly, creating air pockets in between the layers of the soft biscuit dough. Otherwise, if the butter is already warm, it will melt too fast and end up pooling at the bottom of your pan instead of inside your biscuits. The result? Dry, chewy, sad biscuits, and wasted butter.
We want soft, flaky, buttery biscuits with a light crisp on the outside!
Tips for the Best Homemade Buttermilk Biscuits
- Cold butter – Cold butter is what makes the flakiness and tender crumb! Keeping your butter cold gives it a chance when it goes into the oven. If Cold butter has time to slowly melt and create pockets of steam in the biscuits that makes layers. Otherwise, room temp butter would melt too fast and start pooling at the bottom of your pan. Butter wasted & no layers.
This recipe works best with frozen, grated butter, so most times, I’ll grate butter the night before and stick it in my freezer for the morning. Not necessary but just my preference. - Buttermilk – Buttermilk is the perfect combination of acidity and fat that produces the most tender biscuit. See FAQs for buttermilk alternatives.
- Work the dough as little as possible – Don’t overmix anything you want tender, and biscuits are most definitely tender! Overmixing will get you tough, chewy, and flat biscuits.
- Pressing & folding method – Pressing is what compacts the dough together to avoid overmixing, and the folds create the rough layers.
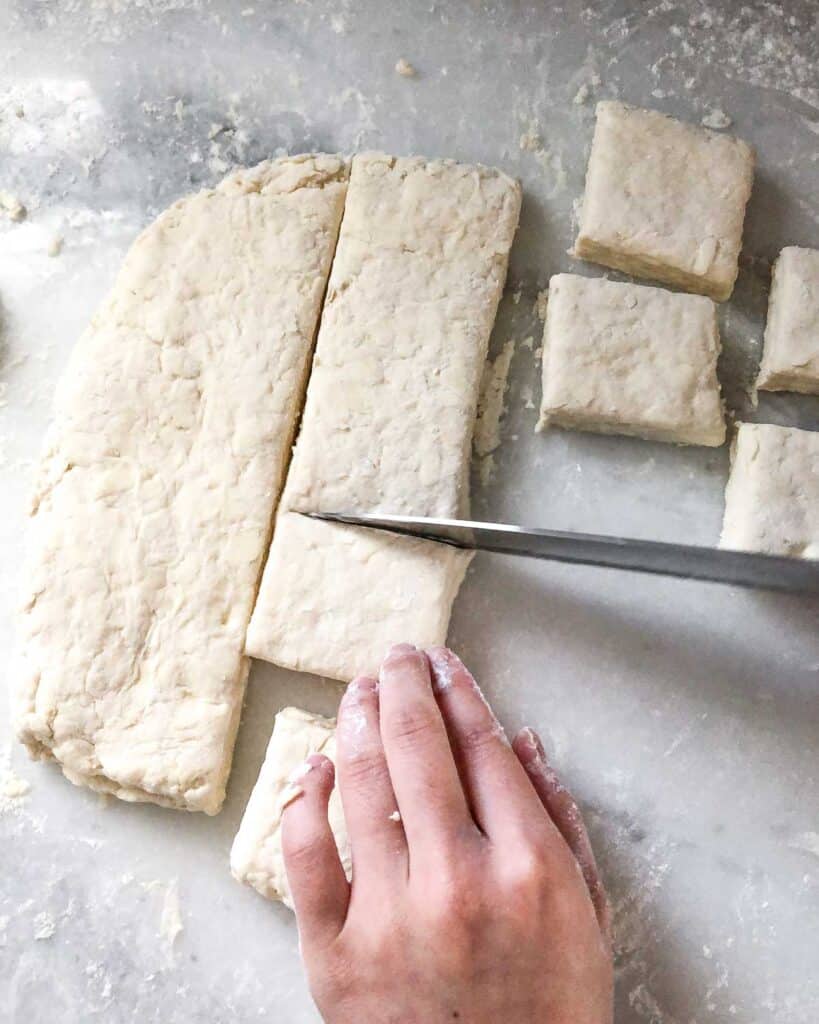
- Cut straight down, don’t drag or twist – Always cut straight down, never twist or it will seal the edges of the layers you created and prevents the biscuits from rising properly.
How to Make Homemade Buttermilk Biscuits
Example Schedule
The night before (optional time-saver): grate the butter and freeze it.
The day of: make the biscuits with frozen grated butter.
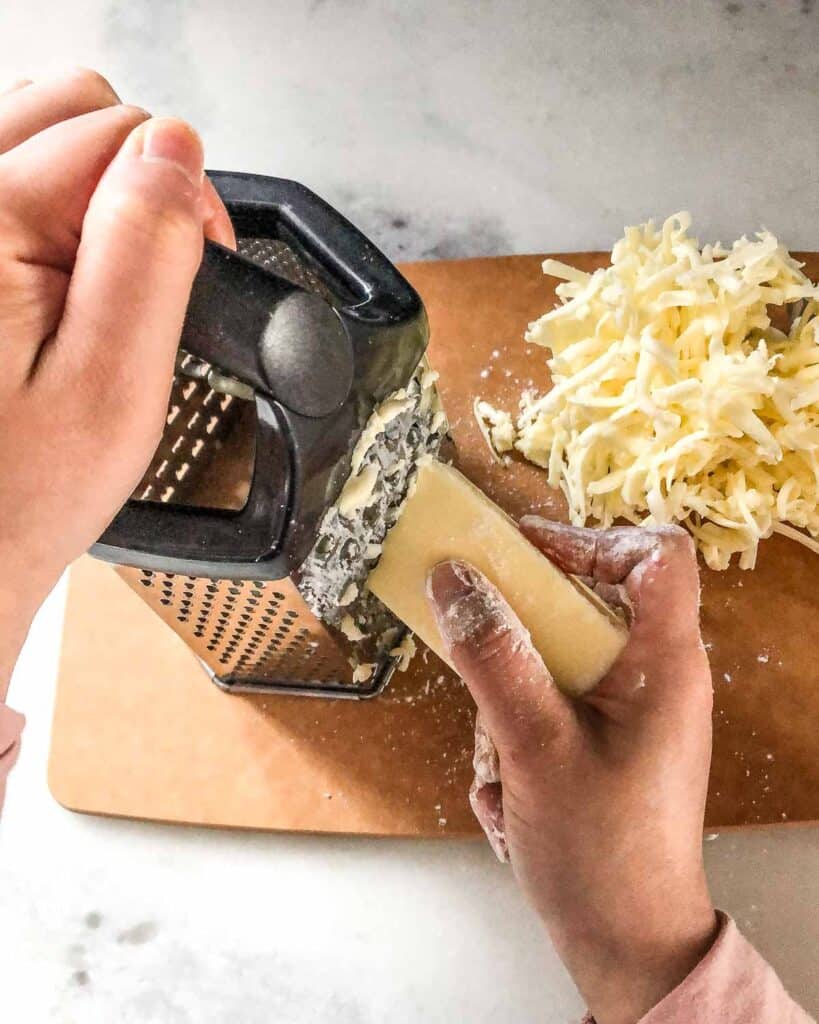
Step 1: Grate cold butter & freeze.
- Grate the cold butter and place it in the freezer to chill while you mix the rest of the ingredients.
- Pro tip: flour your hands to prevent the butter from sticking to your fingers too much!
- Line a baking sheet with parchment paper and set aside.

Grate cold butter
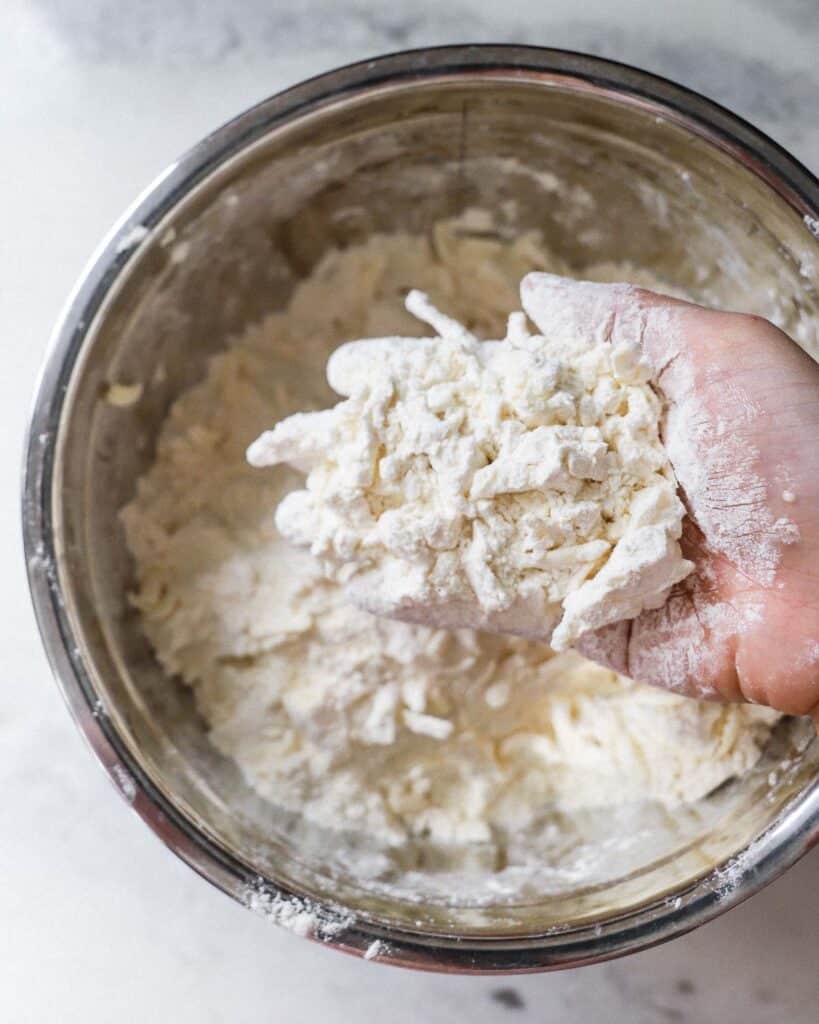
Step 2: Add butter to dry ingredients.
- In a large mixing bowl, whisk together flour, sugar, salt, baking powder, and baking soda. Add the cold shredded butter straight from the freezer to the flour mixture and incorporate quickly with your hands, breaking up any chunks so that each butter strand gets a coat of flour (move quickly and avoid touching the butter for too long so it stays cold.)
-
Grated butter mixed with dry ingredients
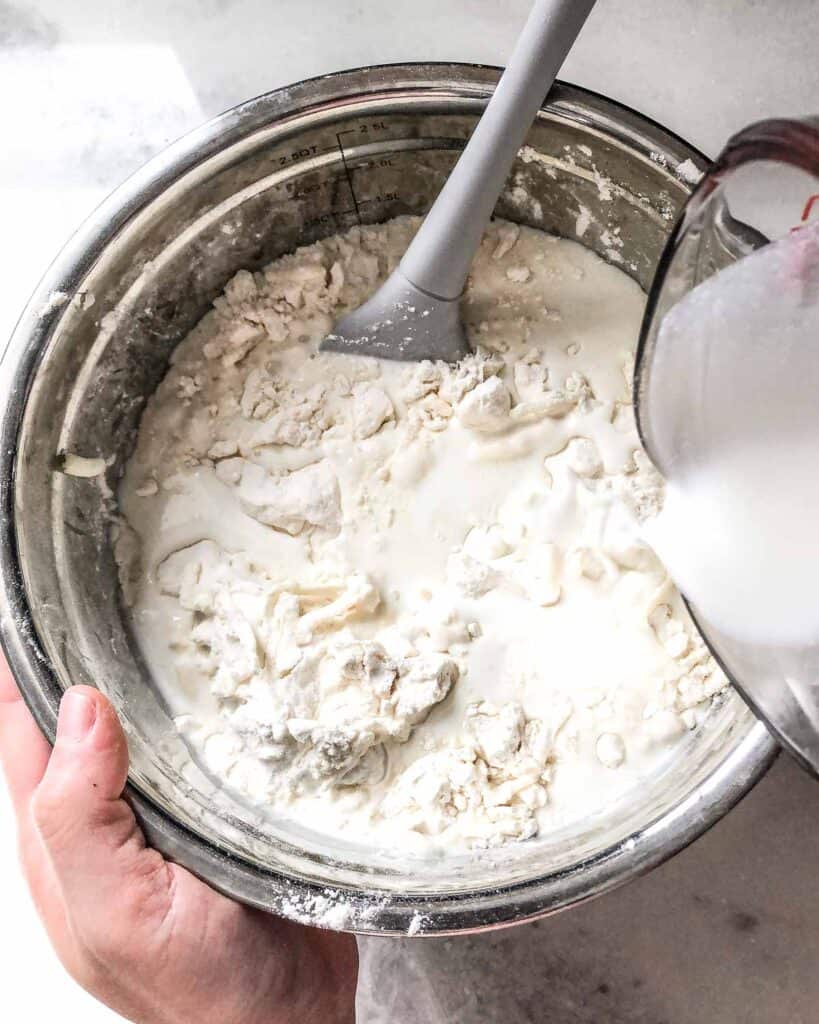
Step 3: Mix in wet ingredients.
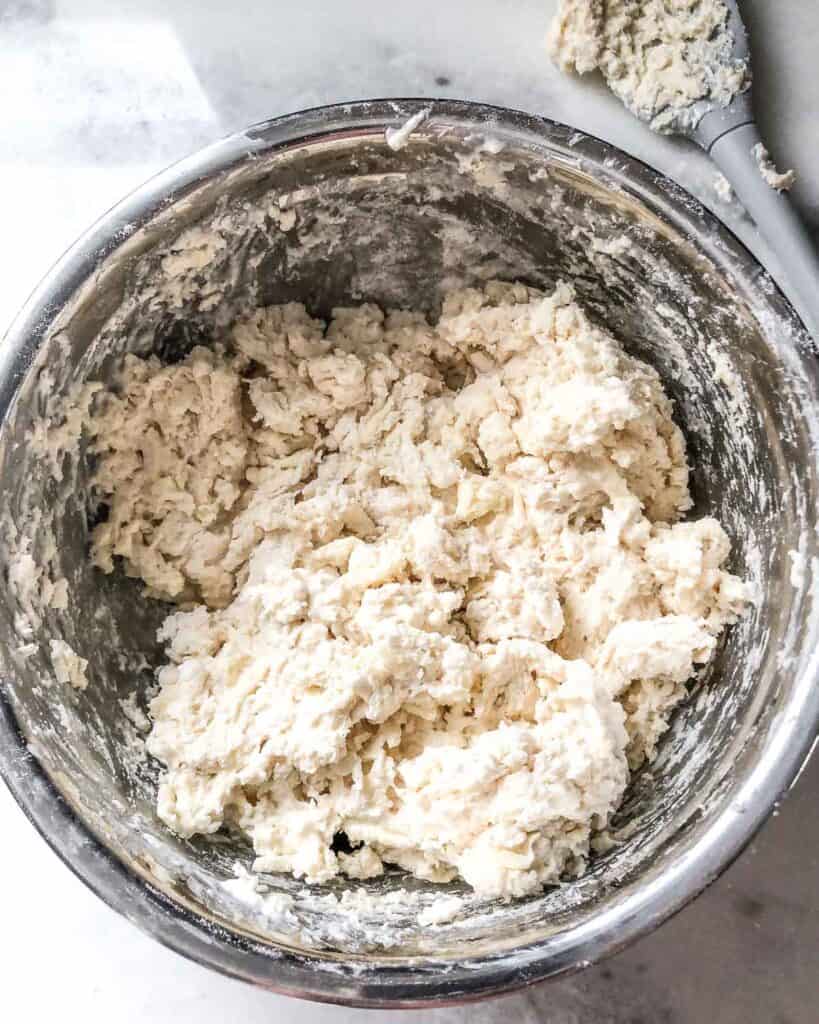
- Pour cold buttermilk and milk into the dough and stir with a spoon until a coarse, shaggy dough forms. If dough is still too dry and not clumping, add more buttermilk. If the butter in the dough feels like it has come to room temp, put the dough in the freezer for 10 mins to cool.
-
Add buttermilk & milk -
Mix to form coarse, shaggy dough
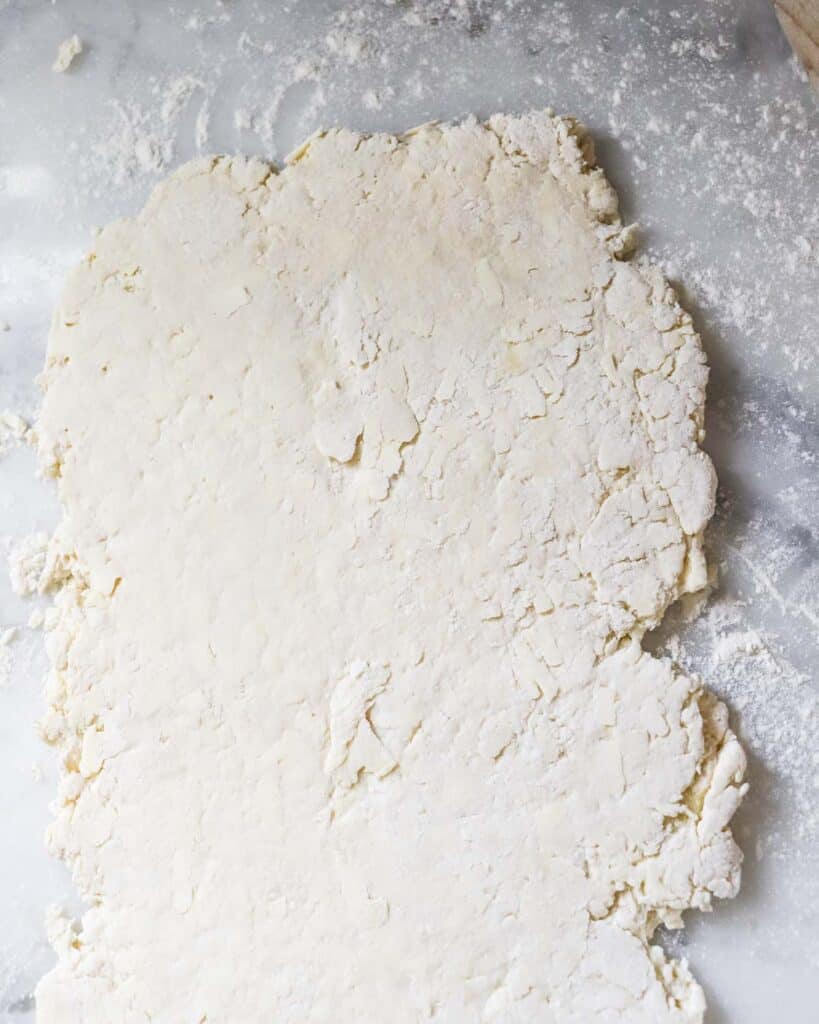
Step 3: Layer & shape the biscuits.
- Lightly flour your work surface and hands. Transfer the dough onto your work surface, pressing together with your hands. This is a coarse dough. Since we want it to be tender, you don’t want to overwork it.
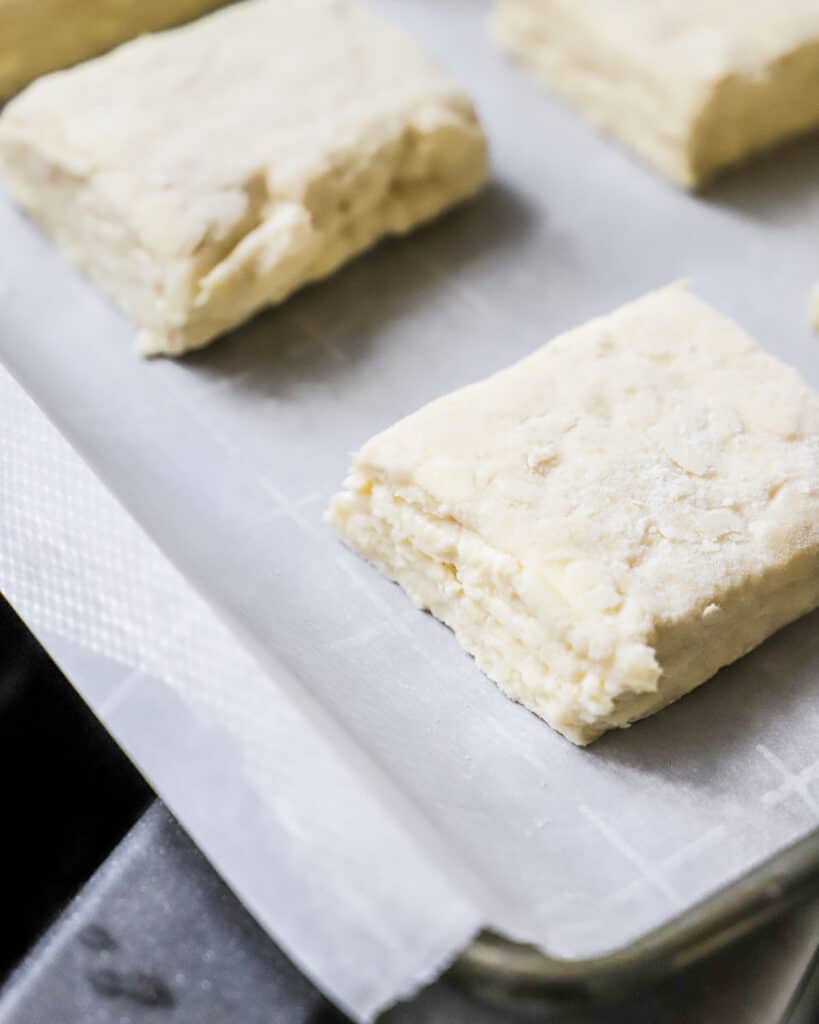
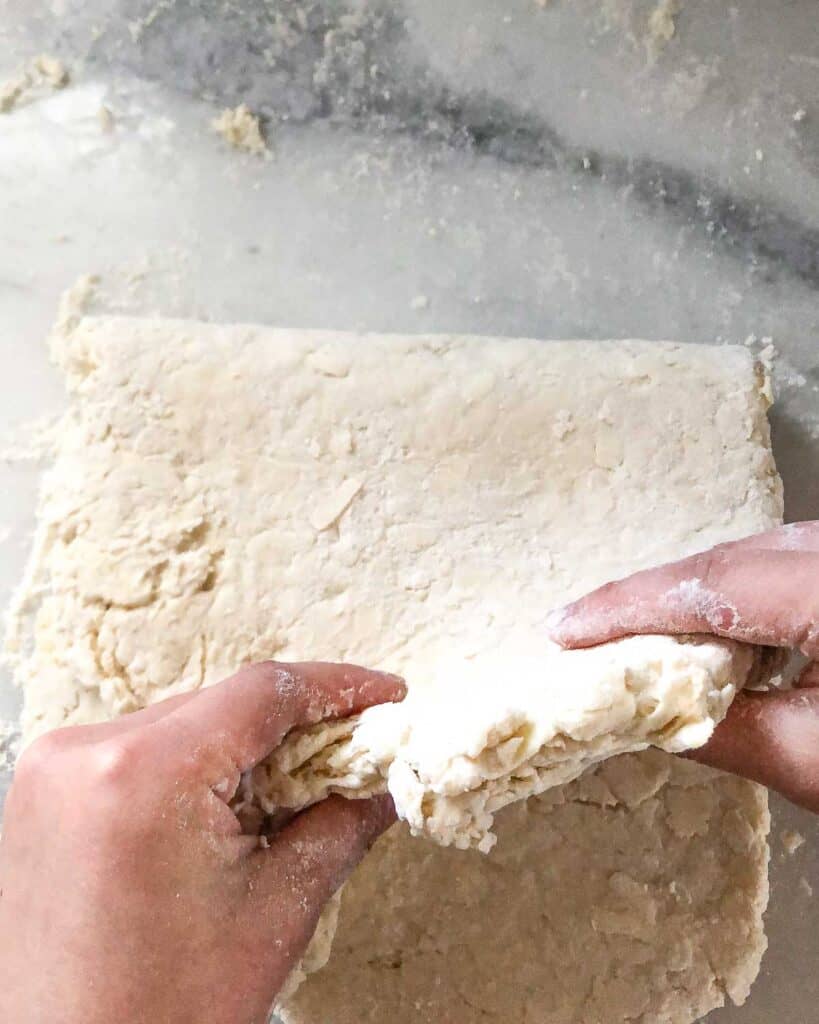
- Roll the dough out into a rectangle approximately 12″ by 16″. Fold the dough over itself once, roll flat, turn, and fold the dough one more time. This creates rough layers. Roll the final folded dough out to 1-inch thick approximately 12″ by 16″, and cut into squares about 3″ wide.
-
Roll coarse dough to 1″ thick. -
Make 2 folds. -
Cut into squares.
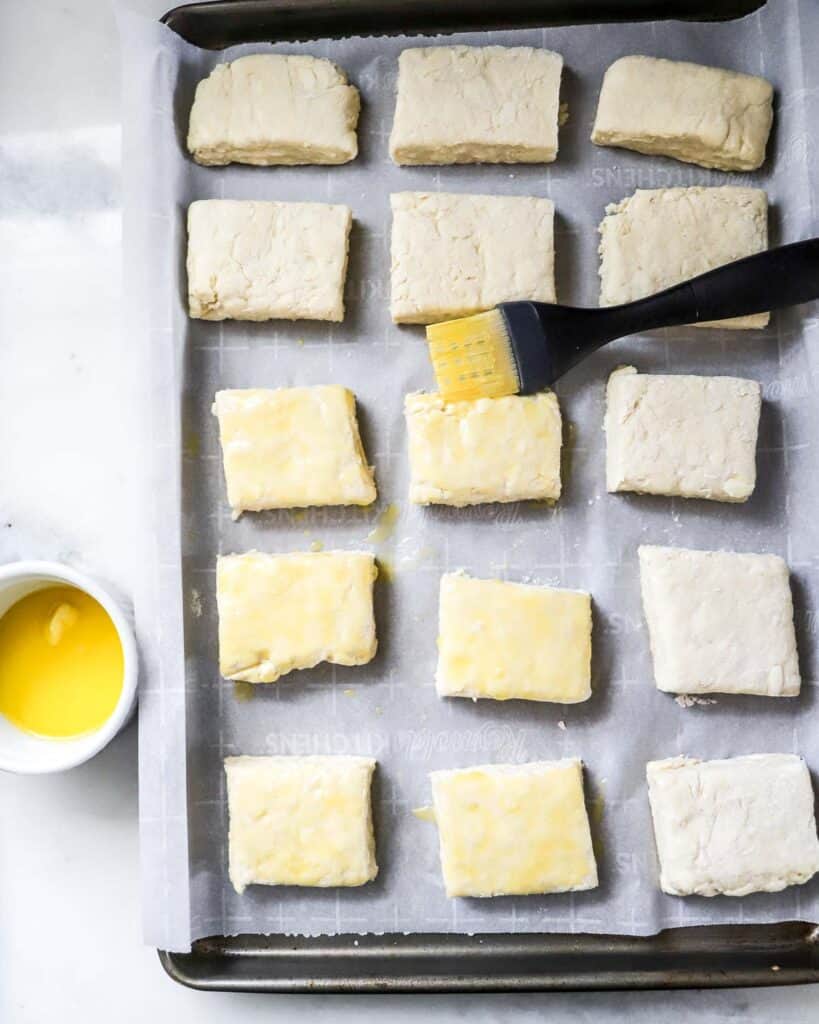
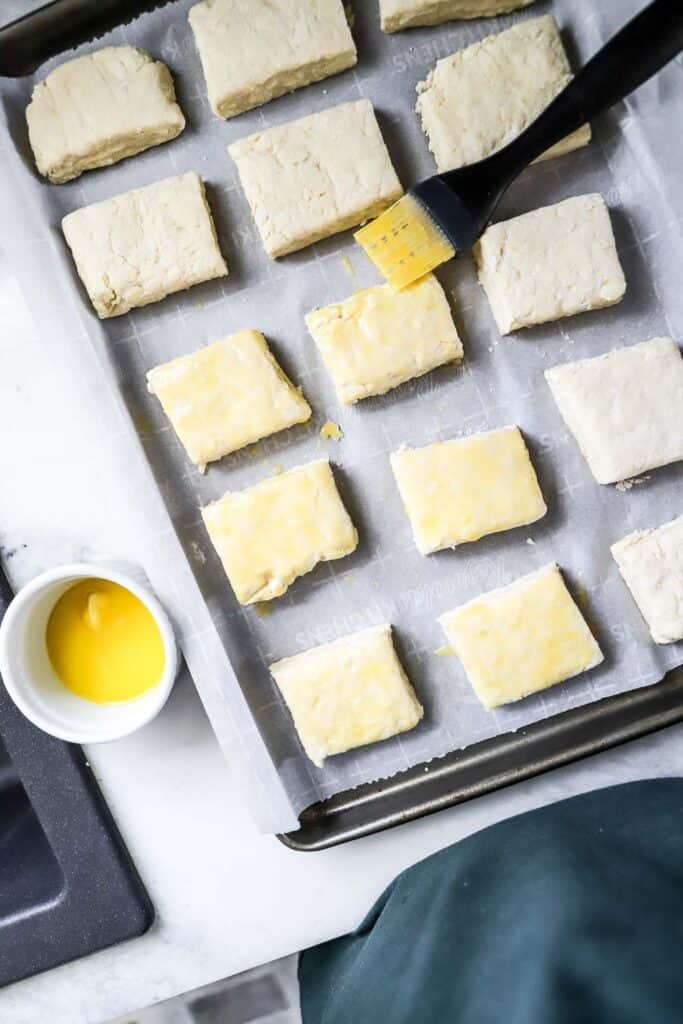
- Lay biscuits on your lined baking sheet, at least 1/2 inch apart. Brush each biscuit with the melted butter.

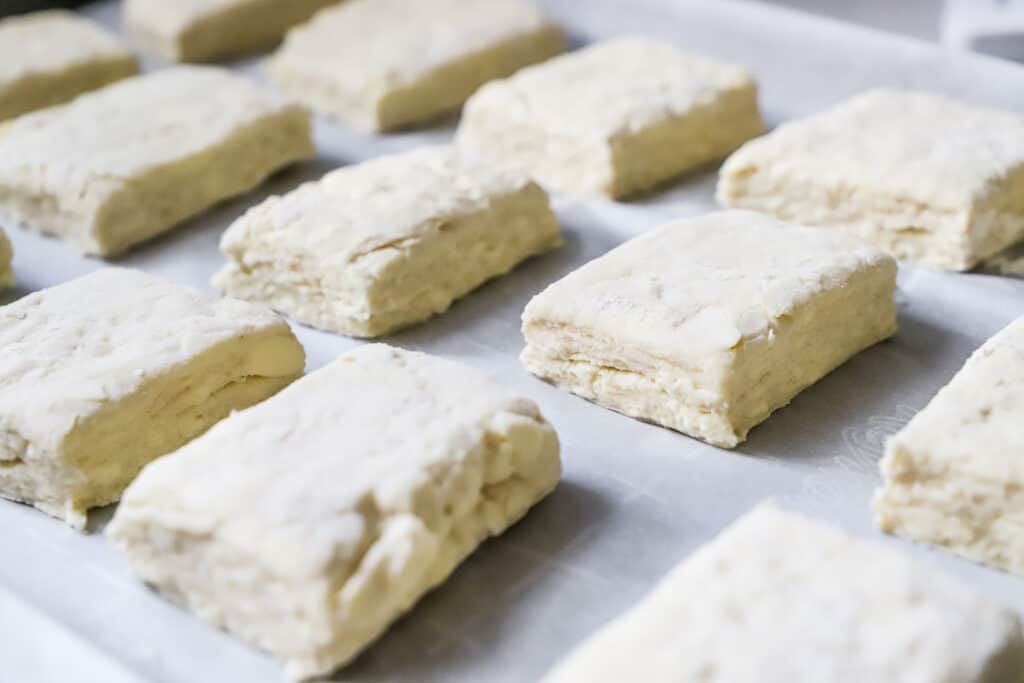
See the layers in these biscuits!
-
Brush melted butter on top of the biscuits
Step 4: Cool the biscuits, then bake.
- Preheat oven to 400ºF.
- While the oven preheats, refrigerate or freeze the tray of biscuits so the butter can get cold again.
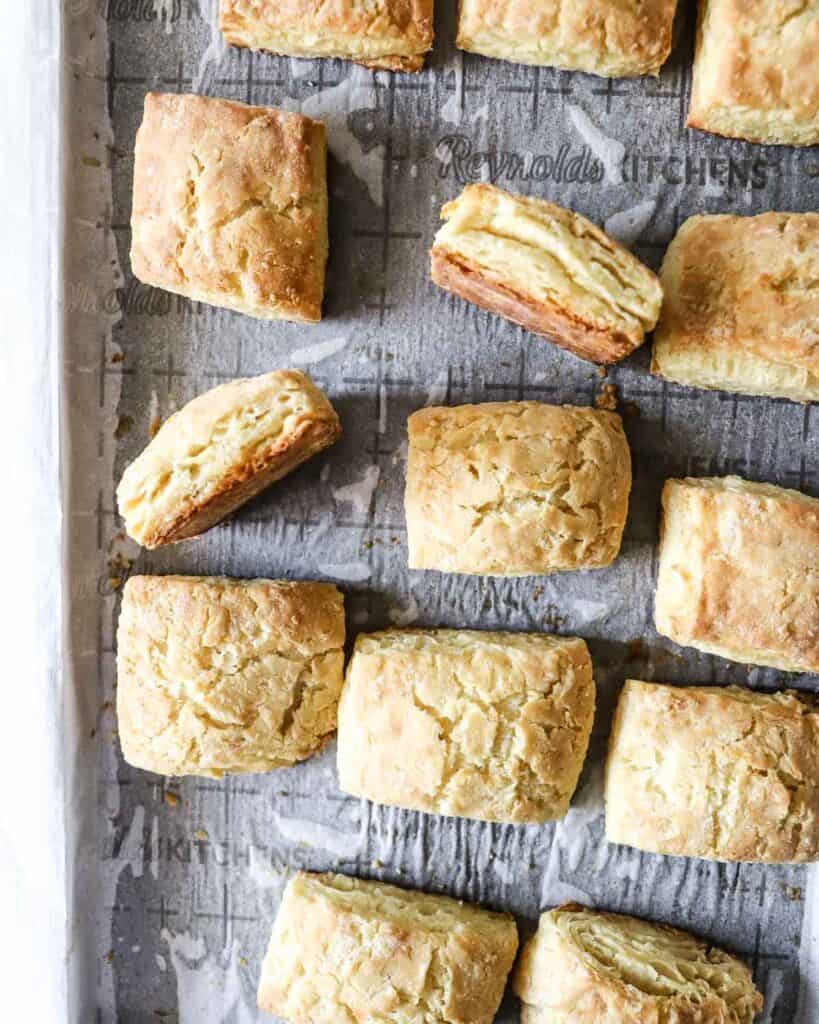
- Bake for 20-25 minutes until golden brown on top. Cool for 10 minutes and serve with your favorite jam, salted butter, or my personal favorite, salted honey butter!
Southern-Style Homemade Buttermilk Biscuits
- Prep Time: 25 minutes
- Cook Time: 25 minutes
- Total Time: 50 minutes
- Yield: 20 biscuits 1x
- Category: Breakfast
- Cuisine: American
- Diet: Vegetarian
Description
Soft, flaky, and buttery buttermilk biscuit recipe that you can make at home from scratch. Inspired by the Southern-style biscuits from Popeyes.
Ingredients
- 4 cups all-purpose flour
- 1 cup buttermilk (plus another 1/4 cup if needed)
- 1/2 cup whole milk
- 1 cup salted butter, cold & grated (2 sticks), do not use European butter*
- 2 tbsp melted salted butter, for brushing on top
- 2 tbsp granulated sugar
- 1 tbsp baking powder
- 1 tsp baking soda
- 1 1/2 tsp kosher salt, Diamond Crystal (1 tsp if Morton Kosher and 1/2 tsp if using table salt)
Instructions
- Grate the cold butter* and place it in the freezer to chill while you mix the rest of the ingredients. Line a baking sheet with parchment paper and set aside.
- In a large mixing bowl, whisk together flour, sugar, salt, baking powder, and baking soda. Add the cold shredded butter straight from the freezer to the flour mixture and incorporate quickly with your hands, breaking up huge chunks so that each butter strand gets a coat of flour (move quickly and avoid touching the butter for too long so it stays cold.)
- Pour cold buttermilk and milk into the dough and stir with a spoon until a coarse, shaggy dough forms. If the dough is too dry and not clumping, add a little more buttermilk. If the butter in the dough feels like it has come to room temp, put the dough in the freezer* for 10 mins to cool.
- Lightly flour your work surface and hands. Transfer the dough onto your work surface, pressing together with your hands. This is a coarse dough. Since this is a tender biscuit, you don’t want to overwork it. Roll the dough out into a rectangle approximately 12″ by 16″. Fold the dough over itself once, roll flat, turn, and fold the dough one more time. This creates rough layers. Roll the final folded dough out to 1-inch thick approximately 12″ by 16″, and cut into squares about 3″ wide. Lay biscuits on your lined baking sheet, at least 1/2 inch apart. Brush each biscuit with the melted butter
- Preheat oven to 400º F. While the oven preheats, refrigerate or freeze the tray of biscuits while the oven is preheating so the butter can get cold again. Bake for 20-25 minutes until golden brown on top. Cool for 10 minutes and serve with your favorite jam, salted butter, or my personal favorite, salted honey butter*!
Notes
*Cold Butter – Refrigerated butter will be much easier to grate than frozen butter, so I recommend grating then freezing.
*European Butter – do not use European/Irish butter in this recipe. It has a higher fat content and melts much faster than regular butter. I use Kirkland Signature salted butter in this recipe. I also love Land O Lakes salted butter for baking.
*Freeze Dough before rolling – it will be much easier to roll the dough when the butter is cold vs. room temp. You’ll be able to make the folds very easily instead of it getting too sticky.
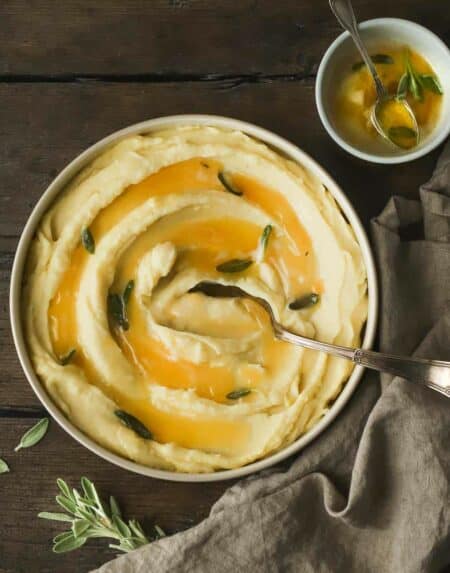
*Salted Honey Butter – my go-to is to whip a stick of salted butter in my stand mixer until fluffy and add 2-4 tbsp of honey and kosher salt to taste! It’s delicious!
Keywords: biscuit, biscuits, buttermilk biscuits, southern biscuits
-
Homemade Buttermilk Biscuits with Salted Honey Butter

FAQs & Additional Notes
- Make-Ahead & Freezing Instructions. These reheat really well if frozen after baked! When the biscuits have cooled completely, freeze them in a zip-top bag. To reheat, defrost to room temp and toast in the oven at 400º F for approximately minutes until the tops get crispy.
- What if I don’t have buttermilk? You can substitute buttermilk with a homemade combo of whole milk + fresh lemon juice or white vinegar. In 1 measuring cup, add 2 tsp lemon juice then pour in whole milk to reach 1 cup. Whisk and rest for 5 minutes before adding to the recipe. If you don’t have whole milk, lower fat milk could work in a pinch, but your biscuits will not taste as rich or rise as tall.
- Can I use unsalted butter instead? Yep! The flavor difference is marginal, so no need to add extra salt to the recipe.
- Why does everything have to be cold? Cold butter is what makes the flakiness and tender crumb! I like to think of it as giving your butter a chance when it first goes into the oven. If it’s cold, the butter has time to slowly melt and create pockets of steam that makes layers. Otherwise, the butter would melt too fast, pool at the bottom of your pan, and create no layers.
- Why do you grate the butter? Grating the butter is way easier than pulling out a food processor in my opinion. Haha! I just really hate cleaning a food processor. We want the butter in small pieces, and grating is the easiest way I’ve found.
- Is it okay to cut into circles instead of squares? Yes, but when you are cutting, do not twist the biscuit cutter. Twisting seals off the edges and will prevent the biscuits from rising evenly. Also, always use a sharp cutter. Don’t use a glass; the dull edges will seal the edges which prevents the biscuits from rising evenly.
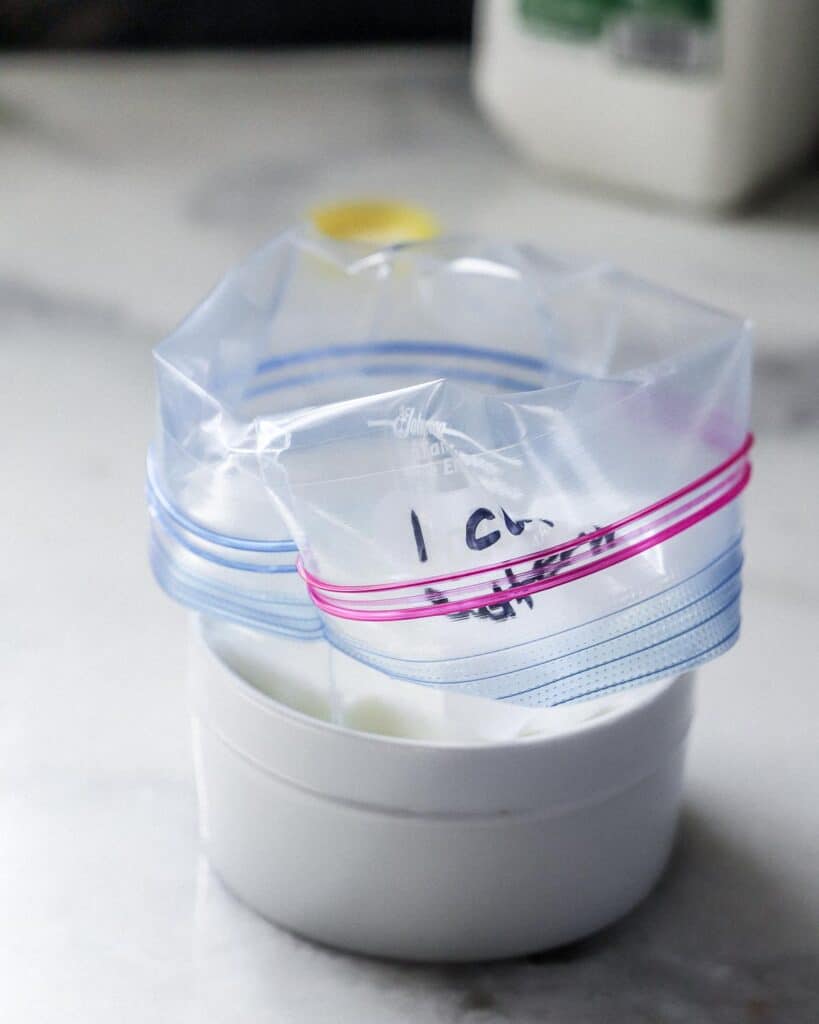
How to Freeze Extra Buttermilk
Unless you’re making several batches of these biscuits, you’re likely going to have leftover buttermilk with a fast-approaching expiration date. Outside of this recipe, I don’t really use buttermilk, so instead of it going to waste, I’ve started freezing it!
It’s best to freeze the buttermilk in portions that make sense for what you make most. I divided my buttermilk into 1-cup portions in zip-top bags because this recipe uses 1 cup. Then I lay the bags flat to freeze. You can use a small cutting board to use as the tray.
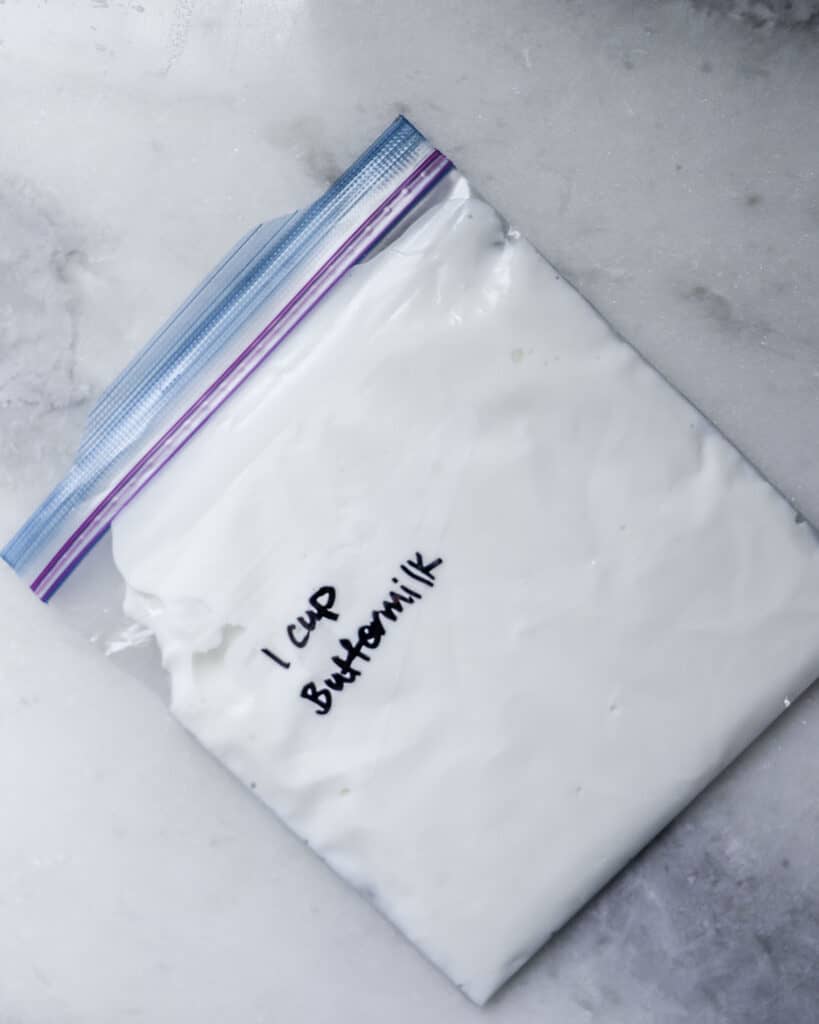
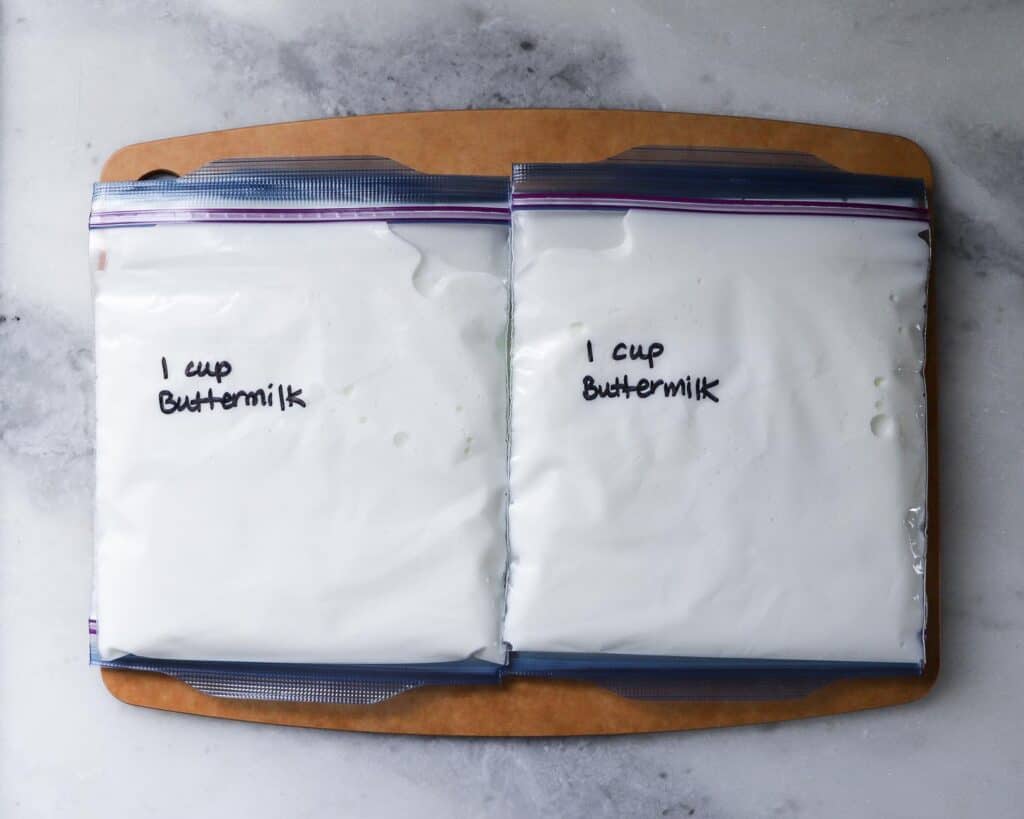
When the buttermilk bags are frozen, you can store them vertically like books to optimize the space in your freezer!
For more baking recipes, check out the breads or desserts categories for my other recipes!

These were awesome! I was nervous about the shaggy dough but it worked! I can’t believe the flaky layers in the biscuits! Her step by step and details in this recipe are so helpful. And you gotta try that salted honey butter, it was perfect.
★★★★★
So glad you made the biscuits!! Thank you for this amazing feedback 🙂
I made these biscuits a few weeks ago and they were truly amazing! The recipe made it super easy to get the great buttery flakiness. They were great as a breakfast sandwich with eggs, cheese, and sausage. Also delicious with a bit of jam.
★★★★★