The days of slaving away over a 15-lb unforgiving turkey are OVER! Hear me out. I’ve put in the time (and tears) into making turkey, and I do believe that turkey can be delicious. But what I’m talking about here is effort & reward. Is turkey worth the effort? My firm answer to that is a resounding no. With half the effort and half the cooking time, you can have a roast chicken that’s twice as delicious.
Chicken vs. Turkey
This recipe is adapted from Bon Appetit’s Expertly Glazed Roast Turkey with quite a few modifications, the biggest being the turkey for chicken swap of course. I tell you this because if you absolutely must make turkey (for the sentimental folks out there), this recipe will still work for you. Your cook time will just be longer!
Roast Chicken in Parts Opposed to Whole
A whole bird is never going to cook as evenly as its parts or spatchcocked – it just isn’t. So I cook my roast chicken in parts to speed up the time AND ensure even cooking. There are quite a few pros to roasting your bird in parts:
- Cleanliness & Ease: With general winter sniffles in mind, you do not want your guests hovering over a whole bird, picking at and carving off slices. Pre-slice your bird and arrange it on a platter with serving ware for quick pickins.
- Faster Cook Time: You’re already using your oven for a bajillion other things, so roasting in parts will cut your baking time in half.
- Evenly Cooked Pieces, No Basting: The beauty of having everything in segments is being able to take parts out that are cooked and leave parts that need more time in the oven.
- Use Carcass for Other Dishes: Since your bird isn’t being cooked whole, you have the chicken carcass to work with immediately instead of having to deal with the leftover carcass the day after. For me, that means I can use every part of the chicken to make other elements like gravy and serve everything in the same meal.
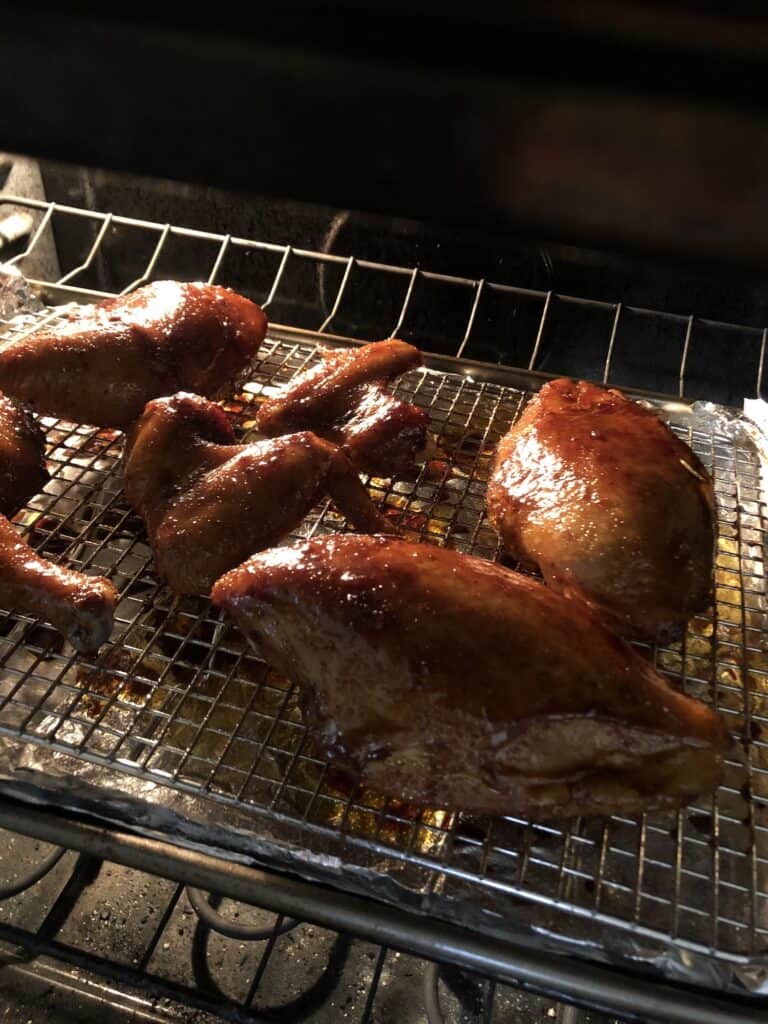
How-To Photos
As always, I’m setting you up with a quick photo series on how to make this Perfectly Glazed Roast Chicken.

Pat dry & prepare for dry brine. Dry brine, uncovered overnight in fridge. Make glaze while chicken bakes. 
Brush glaze on chicken every 10 mins. 
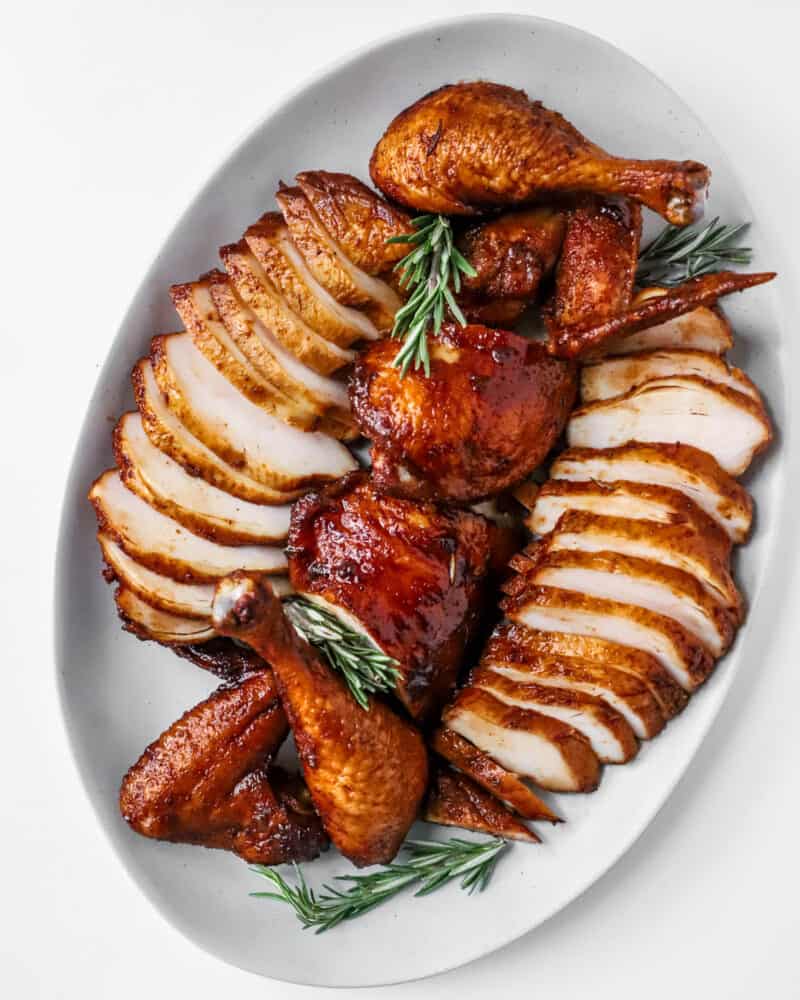
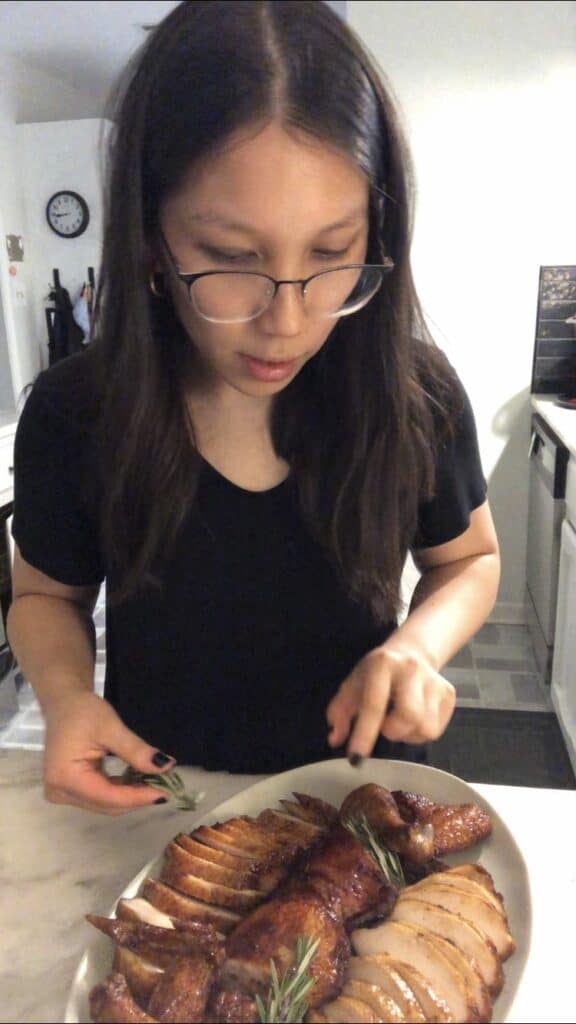
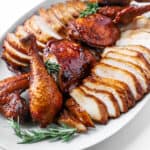
Slice to serve.


Perfectly Glazed Roast Chicken
- Prep Time: 30 mins
- Brining Time: Overnight
- Cook Time: 45 minutes
- Total Time: 13 hours 15 minutes
- Yield: 8–10 servings 1x
- Category: Main Course
- Cuisine: American
Description
Perfectly roasted chicken, dry brined for extra moisture. Glazed with a soy-orange sauce that gives your bird max flavor that will impress. This recipe can be subbed for turkey, though bake times will be longer.
Ingredients
Roast Chicken
- 1 whole chicken (3–5 lbs)
- 2 tbsp black pepper (freshly cracked)
- 1/4 cup Diamond Crystal kosher salt ((or 2 1/2 tbsp Morton kosher, or 2 tbsp table salt))
- 3 tbsp garlic powder
- 3 tbsp onion powder
- 3 tbsp paprika
- 2 tbsp brown sugar
- neutral oil (like vegetable, avocado, peanut, canola)
Glaze
- 1/3 cup rice vinegar
- 1/4 cup soy sauce
- 2/3 cup brown sugar
- 2 strips orange zest (2″x1″ each)
- 3 cloves garlic (smashed)
- 2 sprigs rosemary
- 2 sprigs thyme
Instructions
- Mix Dry Brine. Mix together garlic powder, onion powder, paprika, black pepper, brown sugar, and kosher salt (I use Diamond Crystal). Most other kosher salt brands are saltier than Diamond Crystal, so reduce the amount as necessary – 1/4 cup Diamond Crystal = 2 1/2 tbsp Morton kosher = 2 tbsp table salt). Set aside.
- Cut Up Whole Chicken. For video tutorial, check out this video from 0:20 to 1:55!
Sanitize your work station and make sure you have a large work surface for butchering the chicken. Pat chicken dry and place on cutting board breast side up. Grip one of the legs and pull it outward. Cut through the skin connecting the leg to the carcass. When you hit flesh, pull leg back until you see the ball joint. Pop the joint out, and now you can easily slice the leg quarter from the chicken. Repeat on the other side.Grip one of the wings and pull it outward to see where it connects to the body. Cut through the joint, removing the wing from the carcass. You’ll hit some resistance, but keep cutting through the joint, taking advantage of the weight of the chicken to keep the bird down while you slice off the wing. Repeat.
To remove the breast, feel for the breast bone that separates the two breasts down the center. Using the breast bone as a guide, cut the breast away from the bone keeping your knife along the ribcage. Make long strokes with your knife for a clean cut (avoid sawing back and forth). Repeat on the other side. You’ll have a backbone and ribcage leftover to make a fantastic stock for gravy if you choose!
- Dry brine overnight. Pat chicken dry – be vigilant about drying to ensure crispy skin! Place chicken skin side up on a wire rack set inside a rimmed baking sheet. Sprinkle brine mixture generously over the chicken, patting all over to adhere. You might not need all of it but the extra is helpful in case your bird is bigger than mine. Chill chicken, uncovered, in the lowest possible part of your fridge (for sanitary reasons in case there are any spills) overnight, up to 2 days. When you are ready to cook, remove chicken from the fridge, and rest at room temp for 30 minutes. Preheat oven to 400 degrees F.
- Make Glaze. While the chicken is resting, make glaze. Add brown sugar, soy sauce, vinegar, zest, herbs, and garlic to a saucepan. Bring to a boil, then simmer for 10-12 minutes until sugar is melted and sauce thickens. Set aside. If the glaze gets too thick, add a splash of water and soy sauce.
- Bake Chicken. Line your baking pan with aluminum foil or parchment for easy cleanup. Rub or spray oil on the chicken to coat the skin, and pour 1 cup of water into the baking pan. Bake chicken for 20 minutes, then brush on a layer of the glaze. Reduce the oven temp to 350º F and continue to roast the chicken, brushing glaze on the chicken every 10 minutes until the internal temperature reads 160º F at the thickest part of the breast. Total cooking time will be around 40-45 minutes depending on how big your chicken is. When cooked through, remove pan from the oven to cool. Do not cut into the chicken immediately – the juices need time to permeate. Rest for 15-20 minutes before slicing to serve.
- Slice to Serve. To serve, cut the chicken thighs from legs and arrange through the center of a serving platter. Arrange wings on the ends. Carefully slice the chicken breasts, keeping the slices together as you cut. Fan out the breast slices on opposite sides of the platter.
Keywords: chicken, featured, holidays, thanksgiving, turkey