
One week ago, we sold our first home of just two and a half years in Baton Rouge. It was bittersweet, but it was the perfect time to sell, especially considering we were fixing to move to Colorado!
When we bought the house in 2018, I imagined we’d call it home for at least double the time we lived there, so we remodeled it under that premise. Over the years, I’ve done many projects (successful and unsuccessful). And now that the house is sold, I wanted to keep a record of the improvements that I thought made the house a home (with pictures, of course)!
Below are photos of our house after and before remodeling. I’m sure if I thought about it enough, I could have come up with plenty more improvement projects for it (after all, is a house ever really ‘done’?), but where the house landed was perfect for us as first-time homeowners!
Note: this post contains affiliate links.
AFTER: Remodeled Home Pictures (2021)

Dining Room/Studio -
Living Room -
Kitchen 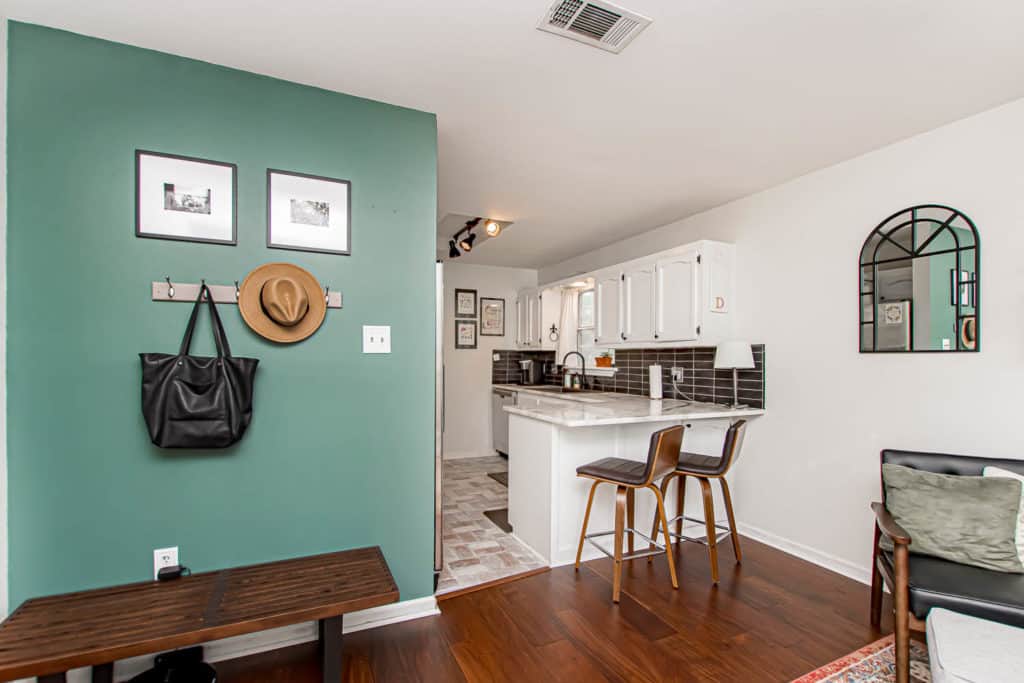
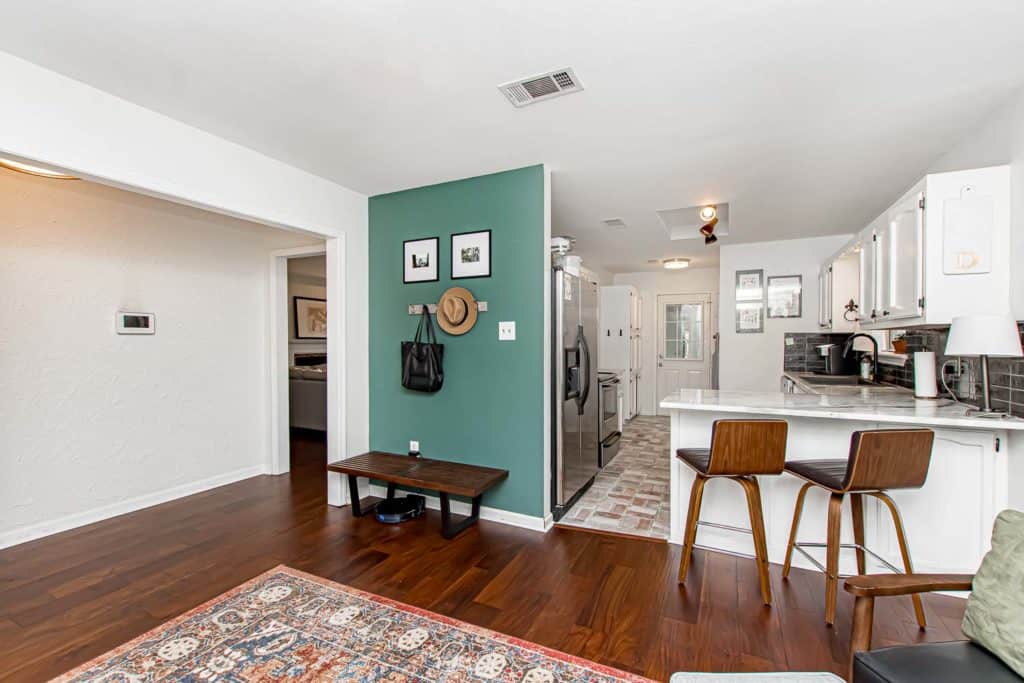
Entry/Kitchen 
Master Bath -
Hall Bath -
Master Bedroom -
Music Room / Dan Cave


Naturally, I kept a spreadsheet of our home improvements over the years, and at the time, it seemed like overkill. But I went with it anyway and am so glad I did. The spreadsheet gave me periodic gut checks on budget, and I’m certain it will help with future home improvement decisions.
BEFORE: When We Bought the House (2018)
Below I’m sharing a little bit of what’s on my spreadsheet with you, from the major updates to the accompanying budgets.
I feel obligated to warn you, however, that this post is not intended to show you how to flip a home for a profit. Many of the projects were highly customized (like Dan’s music room and my Murmurs studio), so I would not have made the same decisions if this was a flip home. We remodeled this house with the simple goal of making it ours, and I believe we achieved that!
Entire Home Updates

The popcorn ceiling was the first thing I noticed when we walked through the home, so I made it the first thing to go right after closing. Hours of Youtubing convinced me to hire help because while de-popcorning is a pretty straightforward project, it’s a messy job and is way more efficiently done in numbers.
Plus, the crew was also able to re-texture and paint the entire house after de-popcorning, so this option was the clear winner.
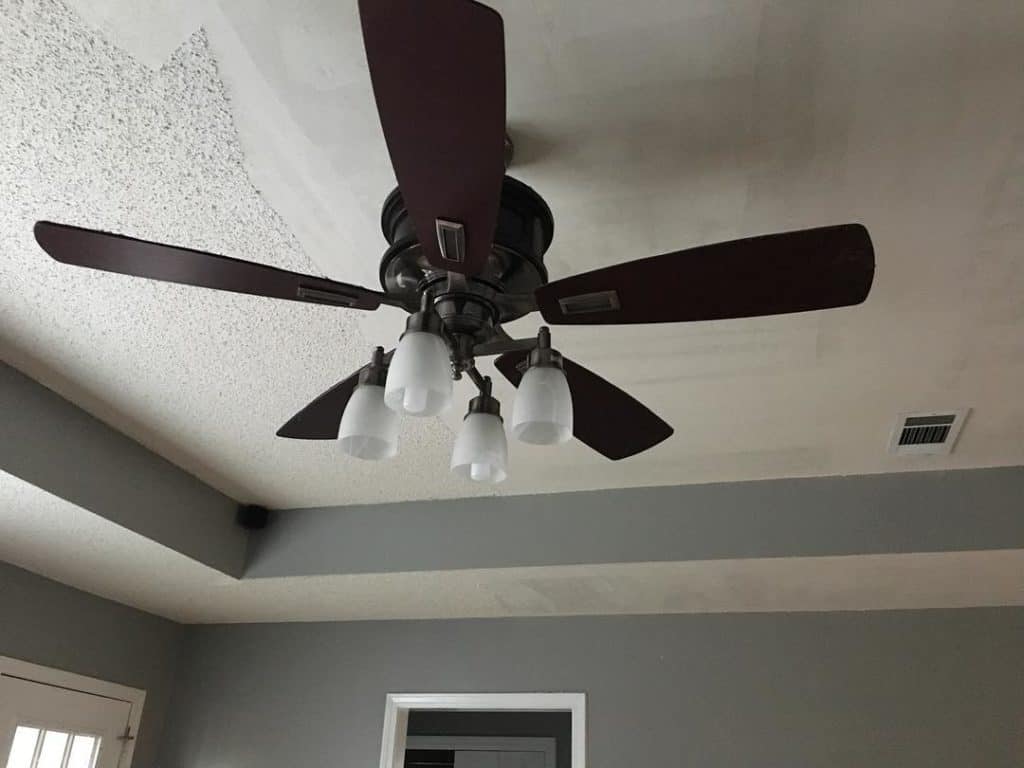
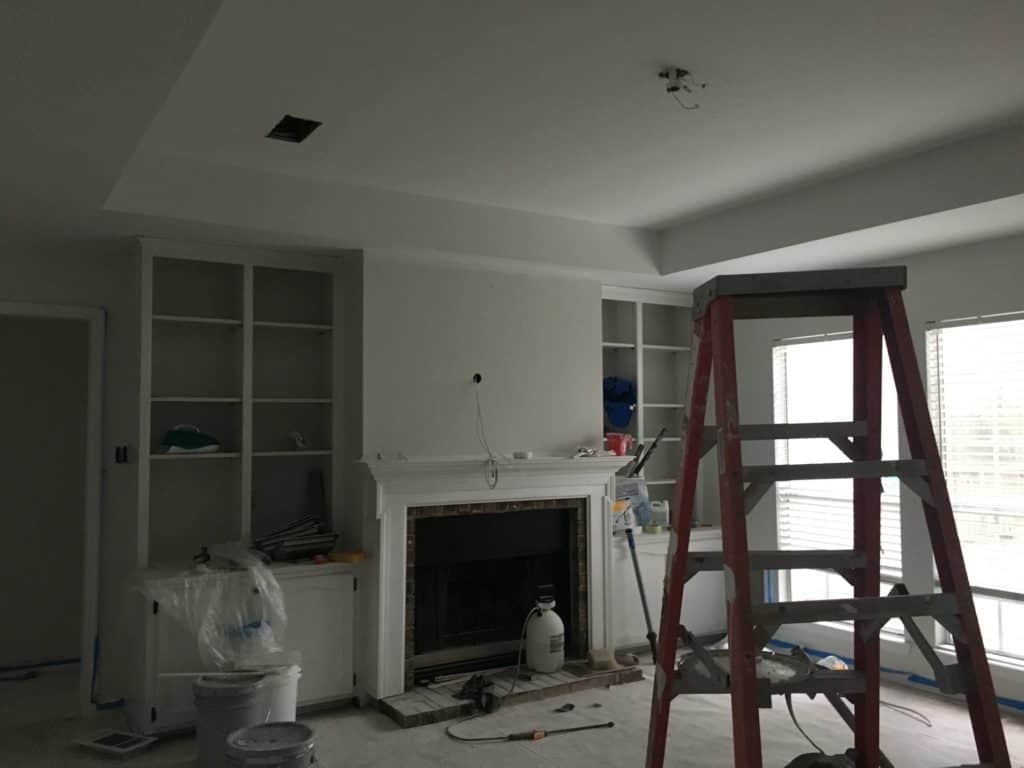
The project took two weeks, so we waited to move in until the de-popcorning and painting were done. Just doing this made all the difference when we re-entered the home. It felt completely different, like a blank slate. This was money well spent!

AFTER 
BEFORE
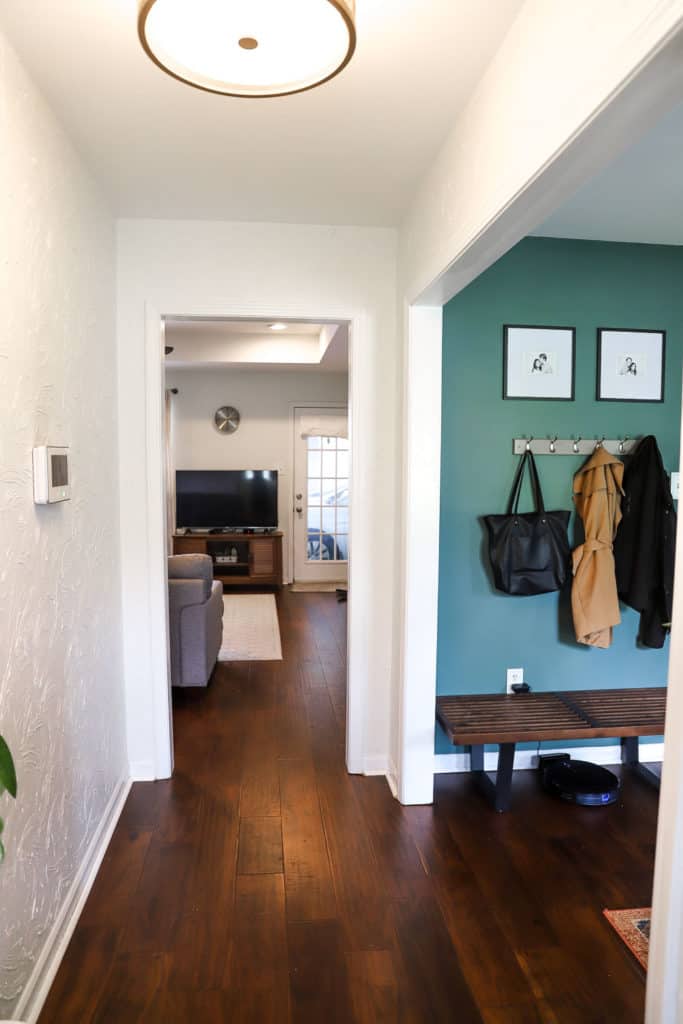
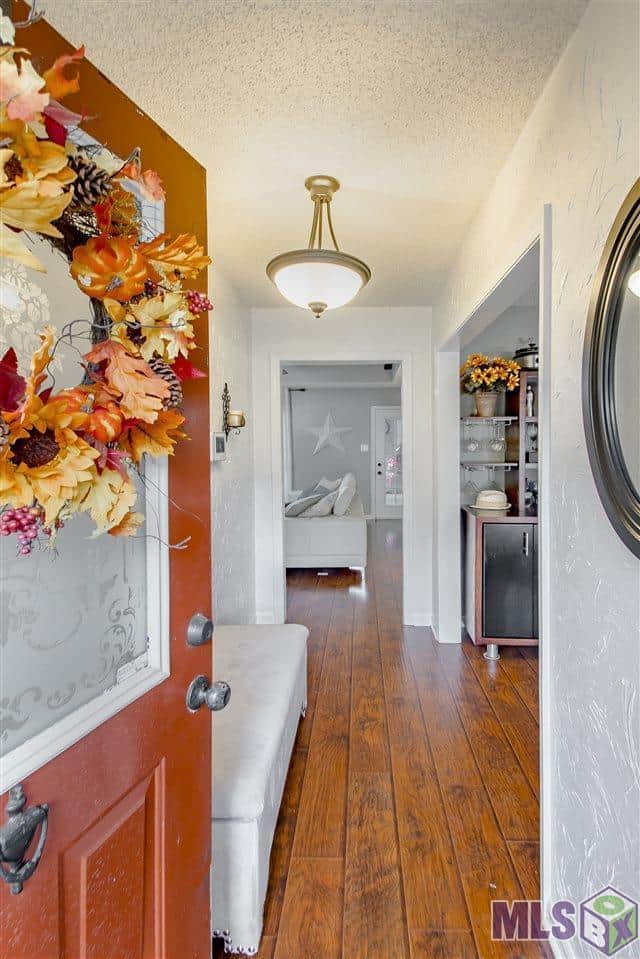
Replacing the flooring was not part of the original plan, but after a water line to the ice maker snapped and soaked the plank flooring, we had the opportunity to re-do them through insurance.
I chose an engineered plank wood that closely matched the previous floors, minus the strong red tint. The new floors had a rich walnut color and provided a great contrast to the light walls.
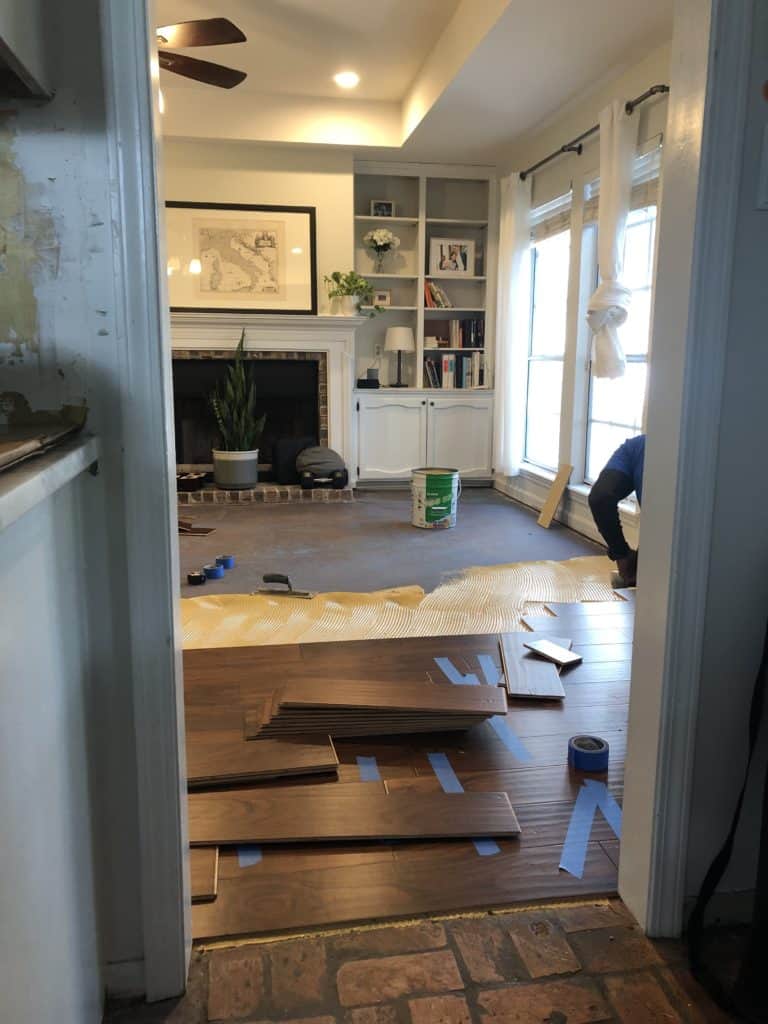
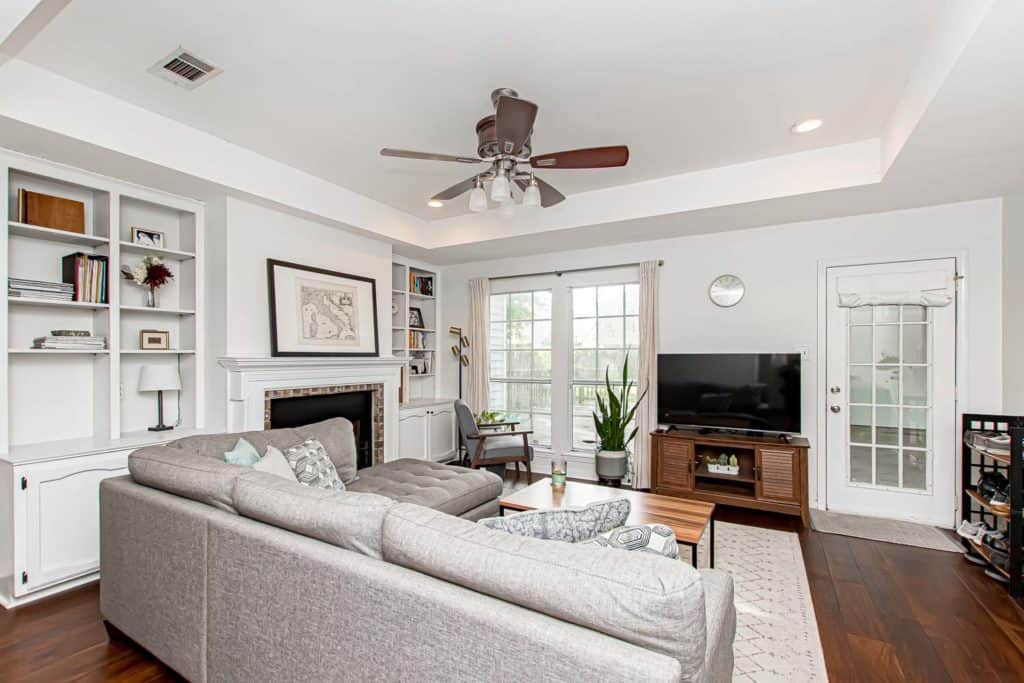
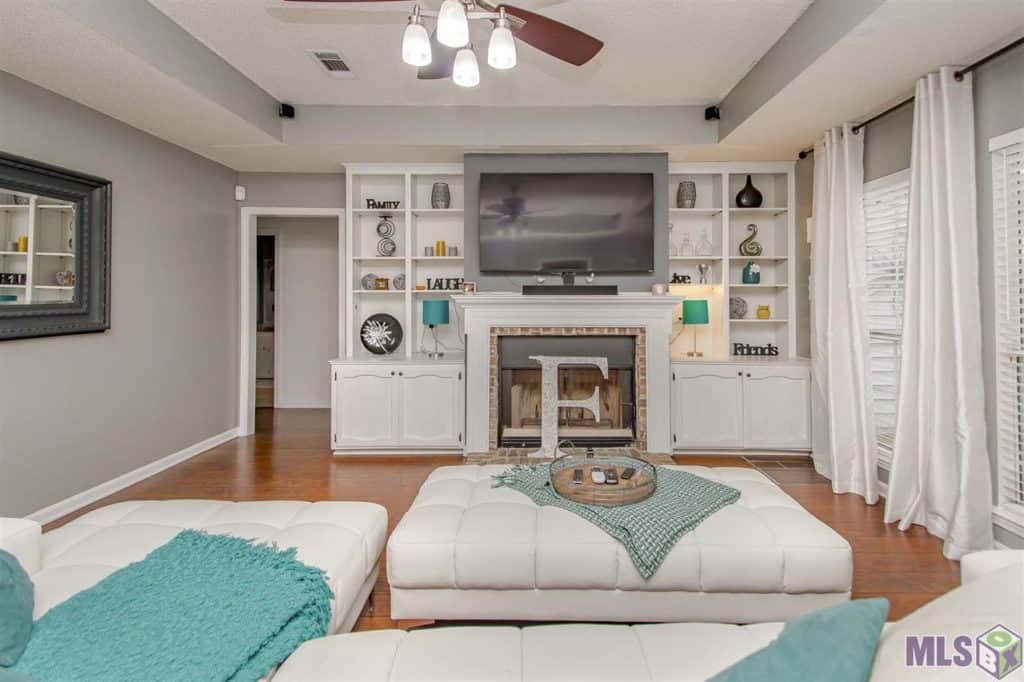
Living Room
The living room lighting was limited to the ceiling fan. So to literally bring more light to the space, my dad and I installed 3 warm white LED recessed lights that could be dimmed. It was such an effective and inexpensive way to make the space cozier.
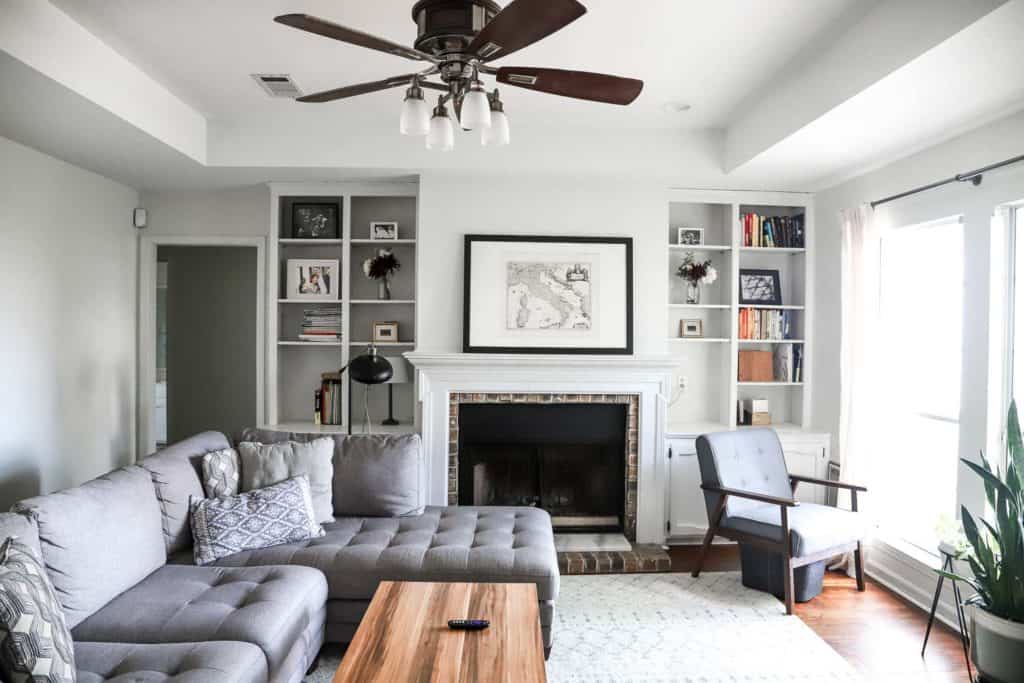
As for the layout of the living room, I never understood why TVs are placed above fireplaces, so I didn’t do that despite it having the better flow (unpopular opinion, I know.)
For me, watching TV at eye level is ideal (short person here!), opposed to constantly tilting my head up to watch TV over the fireplace – that’s why entertainment centers are built to hold TVs at eye level.
So we turned the couch to face the window (because there was also a great view) and placed the TV next to it. Above the fireplace, we placed a large antique map that I carried with me on the plane home from our honeymoon in Italy.
-
AFTER 
BEFORE
It wasn’t ideal for the sectional to block the fireplace, but the new layout just made more sense for how we were going to use the living room. Sitting on the couch, enjoying the view of the trees in the backyard, and watching TV…at eye-level ;).
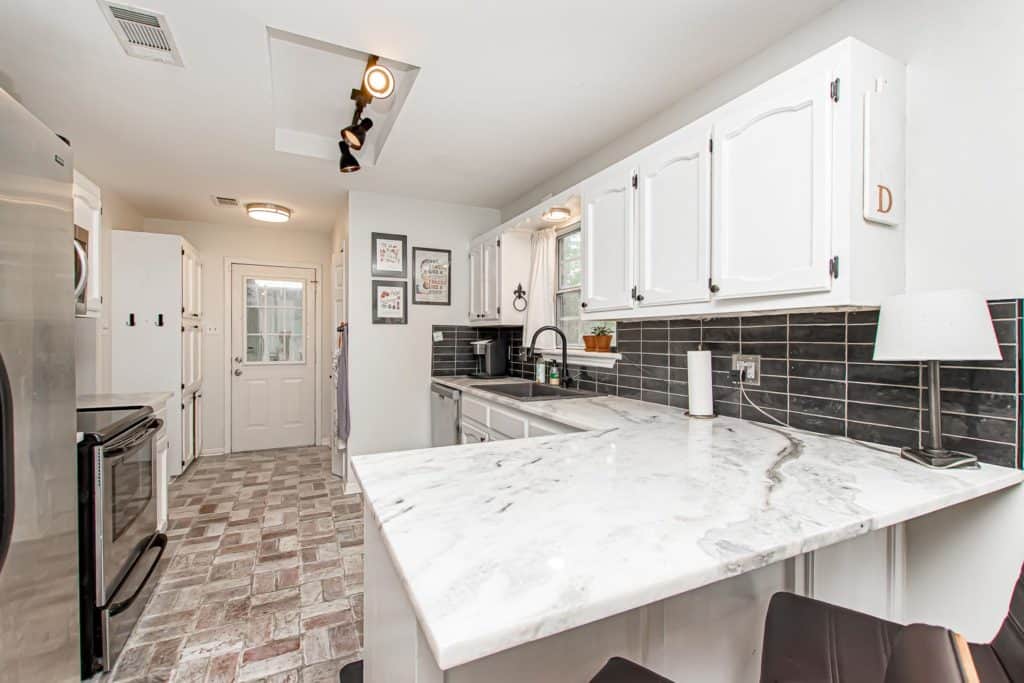
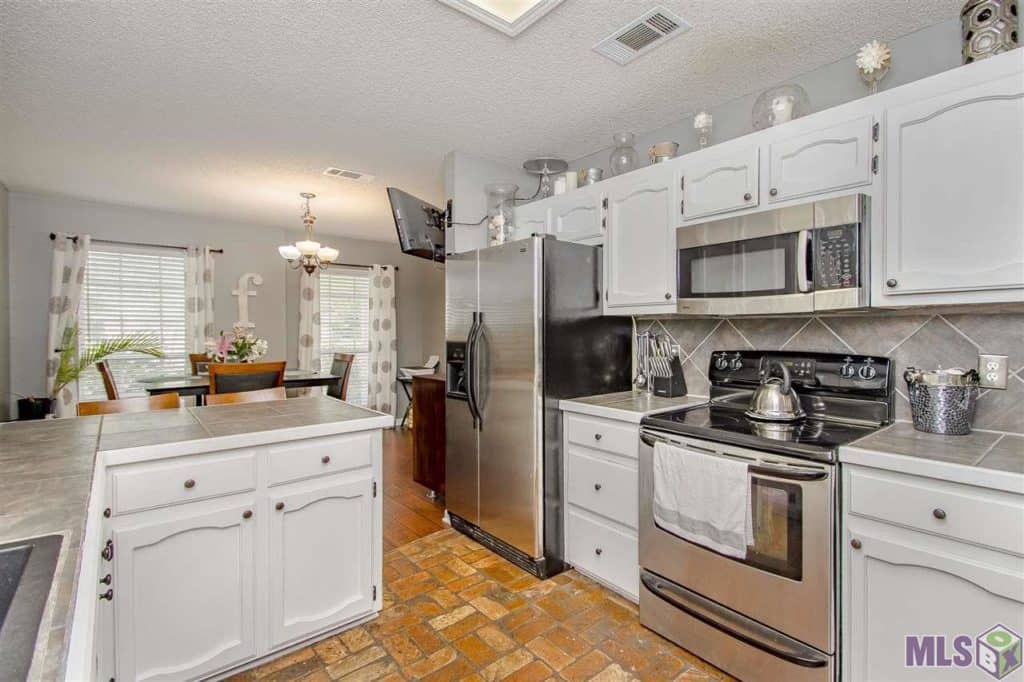
Kitchen
AFTER


BEFORE
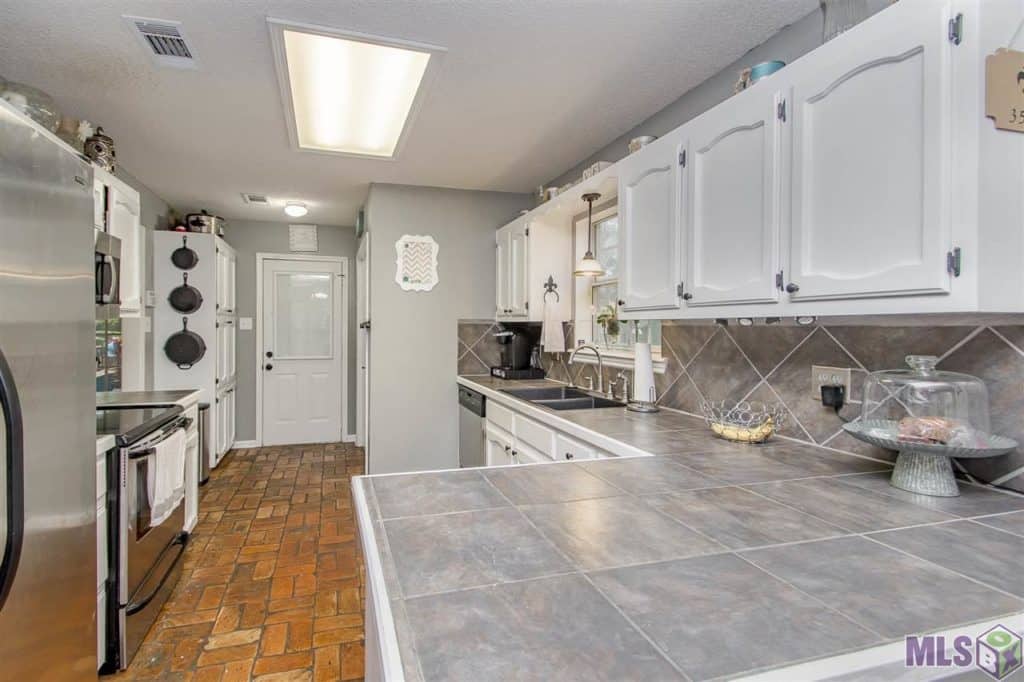
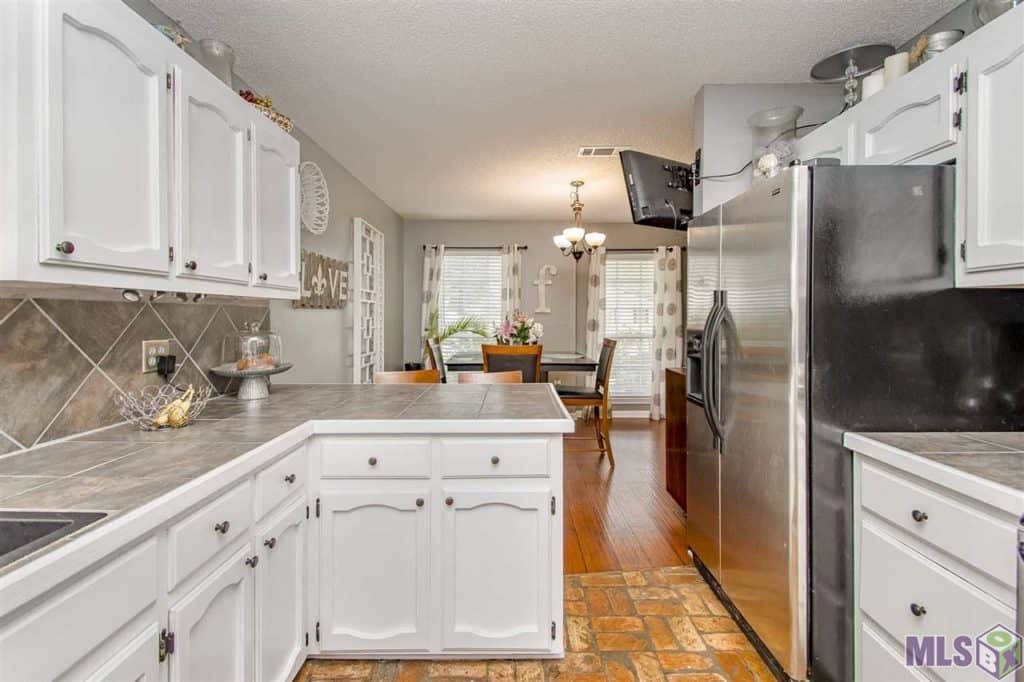
For the kitchen updates, I worked within the same layout to avoid excess costs from knocking down walls + structures. The original cabinets were in great condition too, so I opted to keep them. But the floor tile counters needed to go.
I’ve always wanted stone counters, so I picked out a marble slab at my aunt’s wholesale store DL Cabinetry in New Orleans. It had a chip in the corner, so my aunt gave it to us as a very generous housewarming gift.
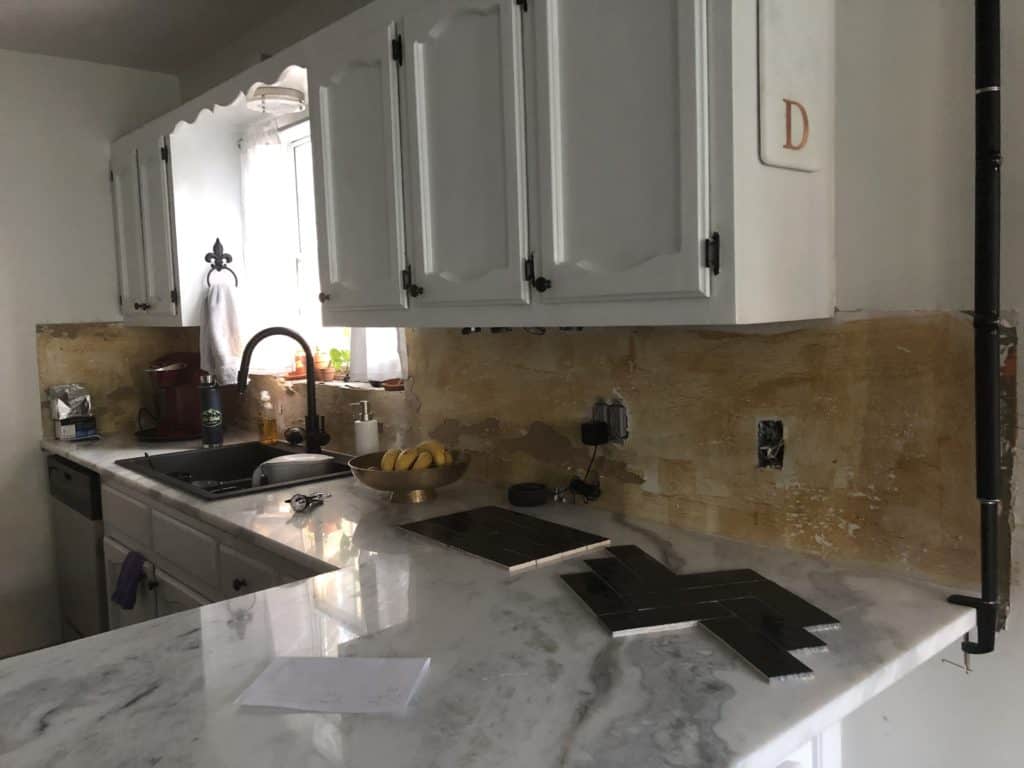
IN PROGRESS: REPLACING COUNTERS + BACKSPLASH
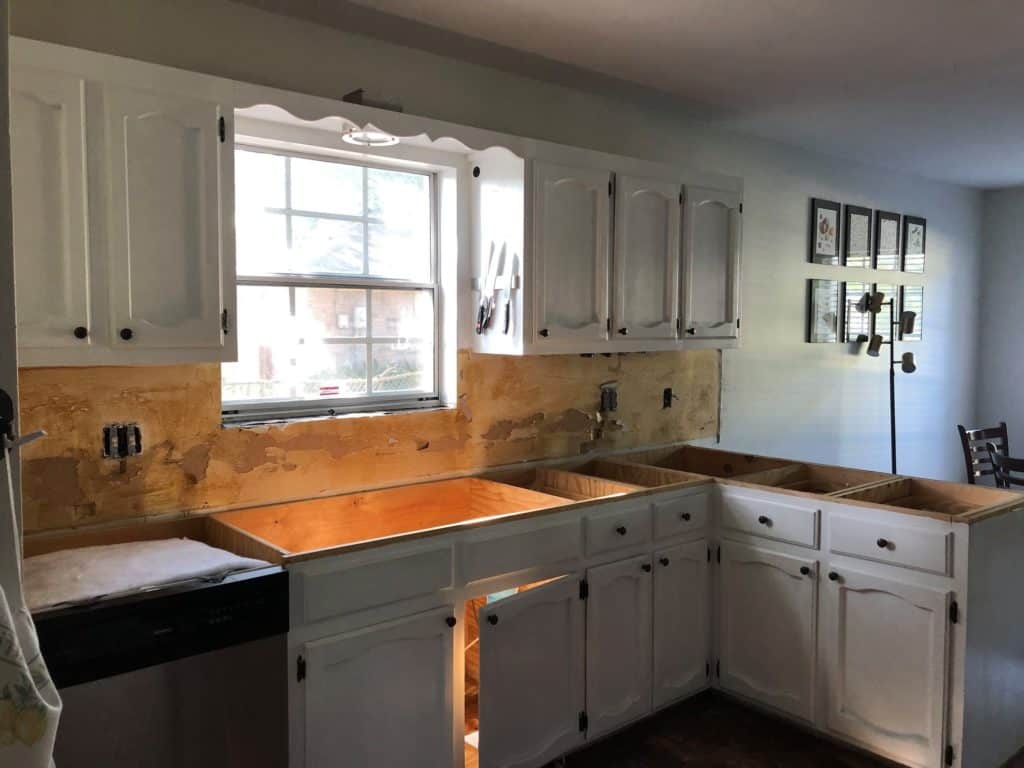
Without the family connection, I would still recommend picking out a wholesale slab with a minor imperfection for the best price. The chip was cut off in the measurements anyway, so the slab worked great for us. We hired a local fabricator to cut the slab to size and install it for us.
As for the backsplash, I purchased handmade ceramic tiles and borrowed a miter saw to do the installation myself. It took me 3 days with lots and lots of mistakes, but for my first time tiling, I’m happy with how it went. But next time, I’d probably just pay the $800 for installation to save myself the trouble of making a million measurements over 3 days haha.
For the floors, the pavers were a little too dark for practical reasons (it was hard for me to tell if the floor was dirty), so I whitewashed them. After watching a bunch of DIY videos, I watered down some leftover white paint and brushed it on the pavers to create the whitewashed look.
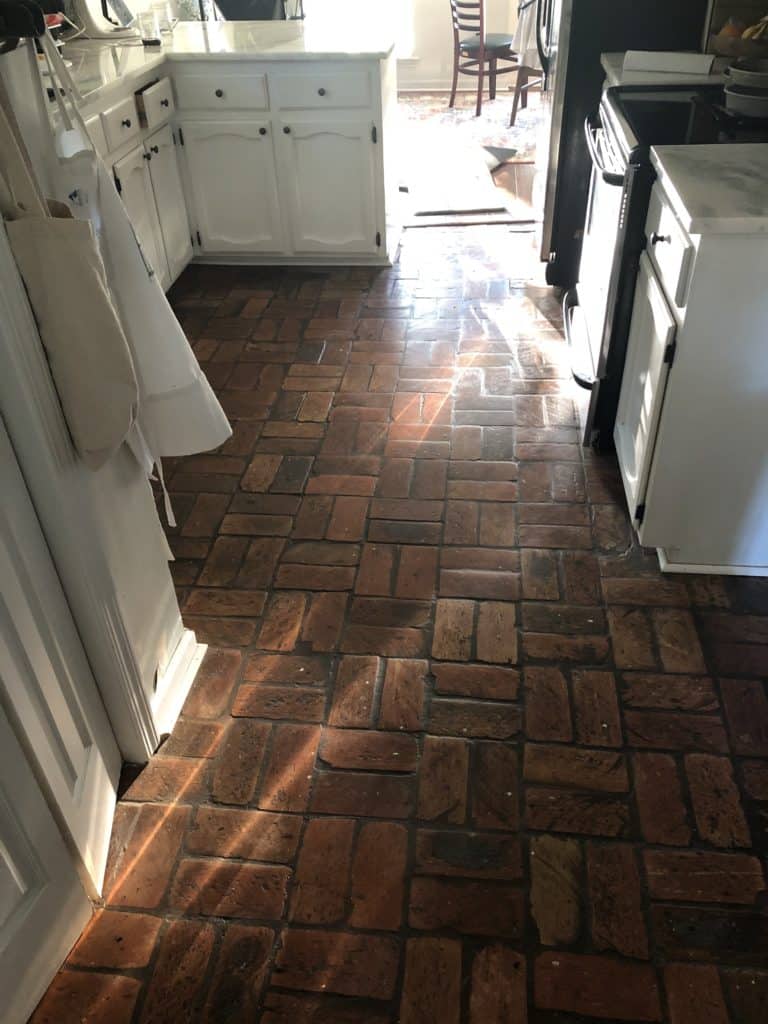
BEFORE 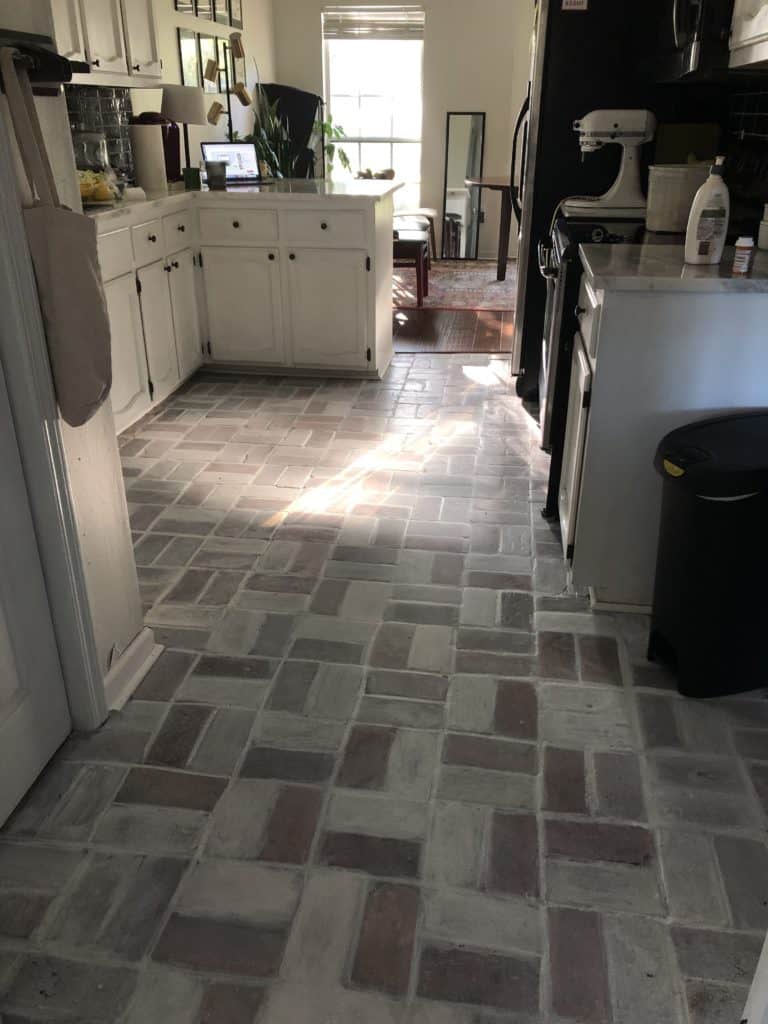
AFTER
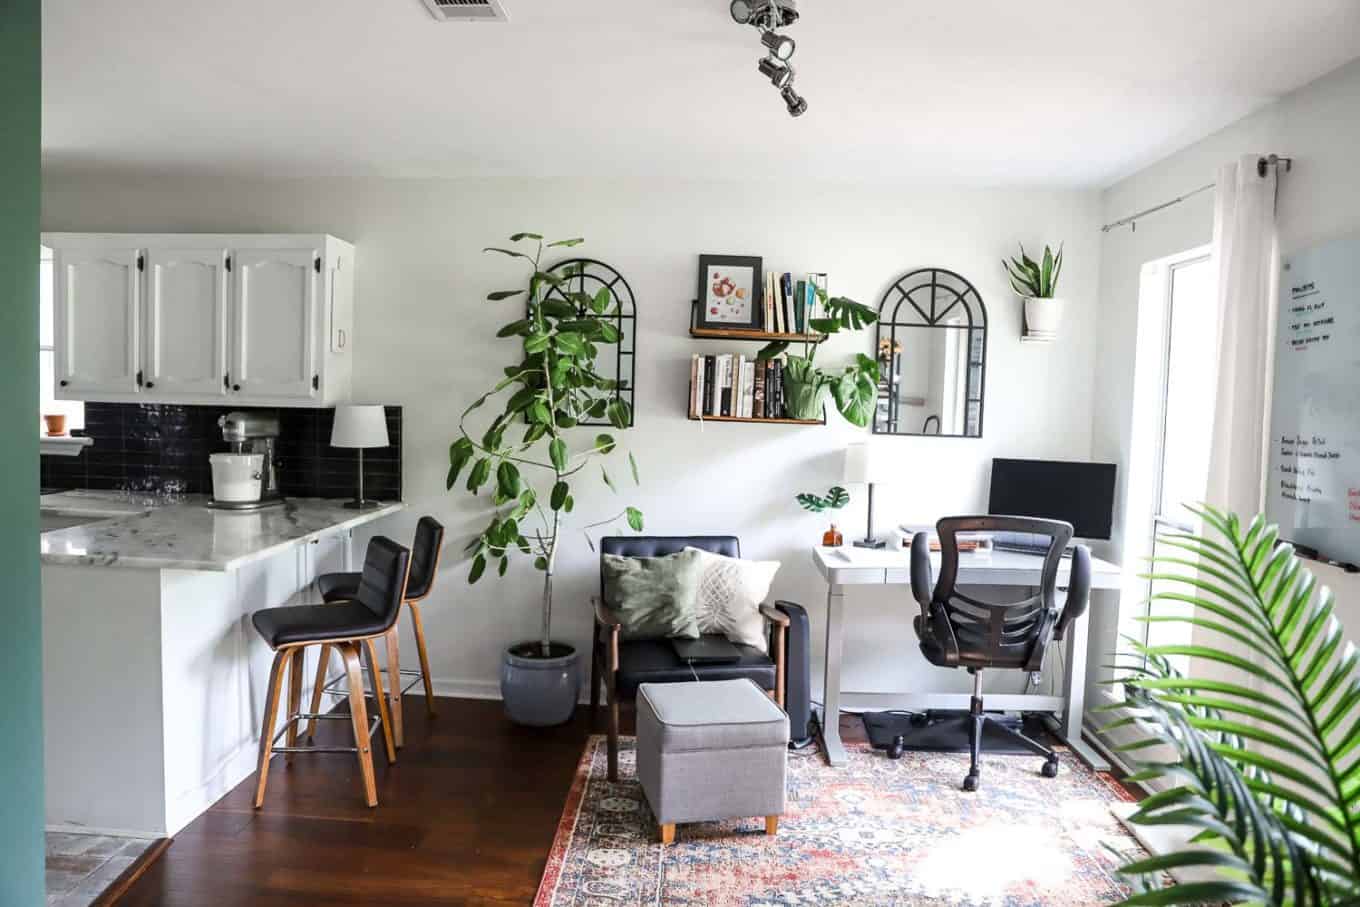
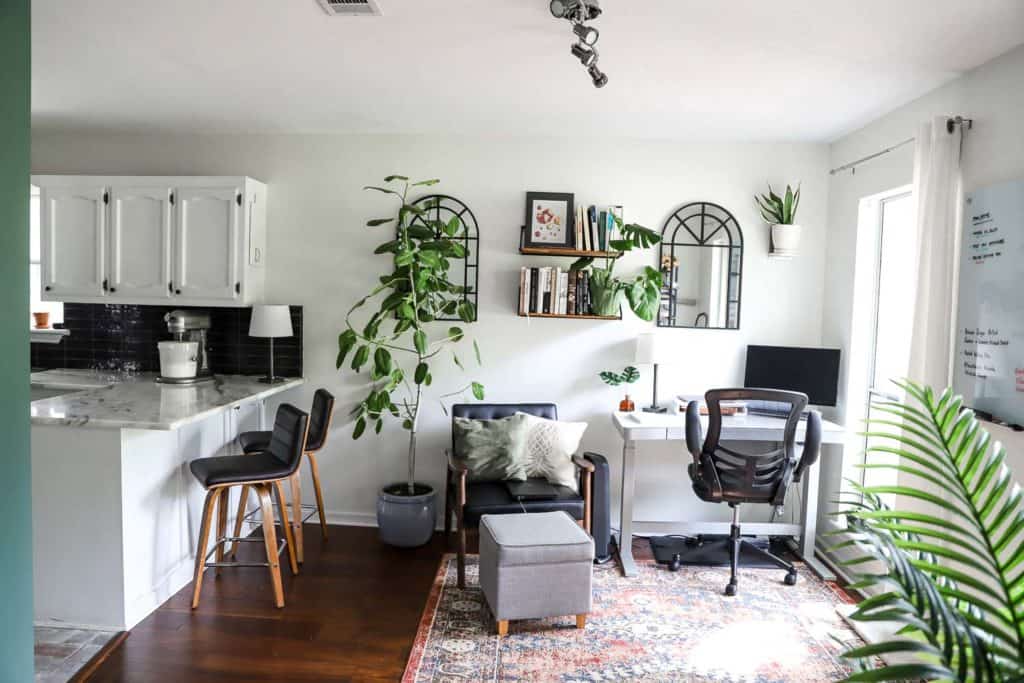
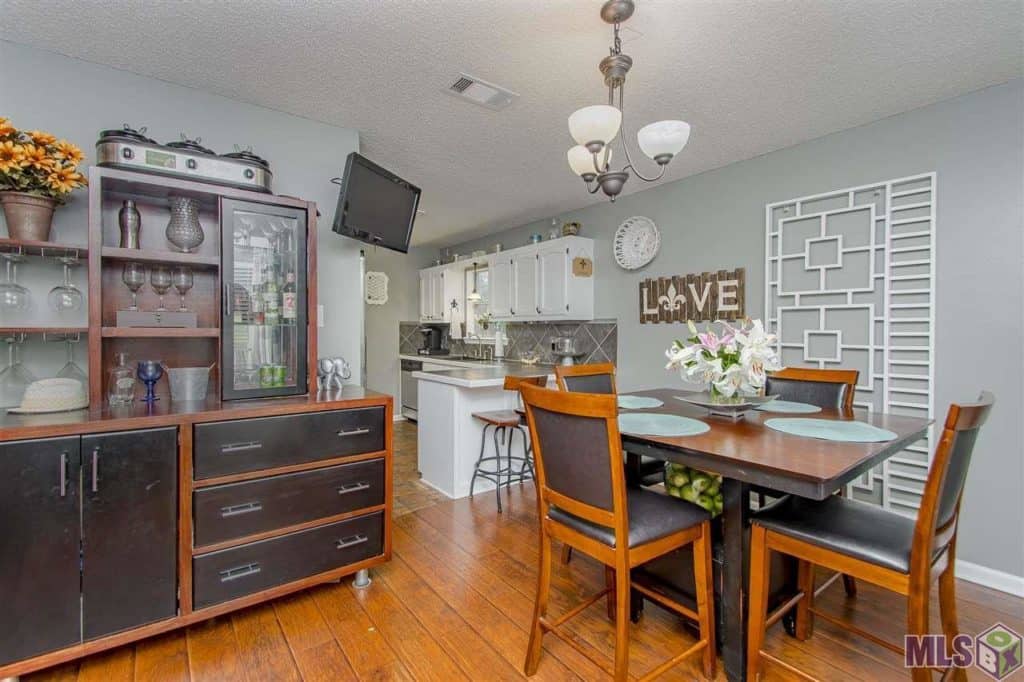
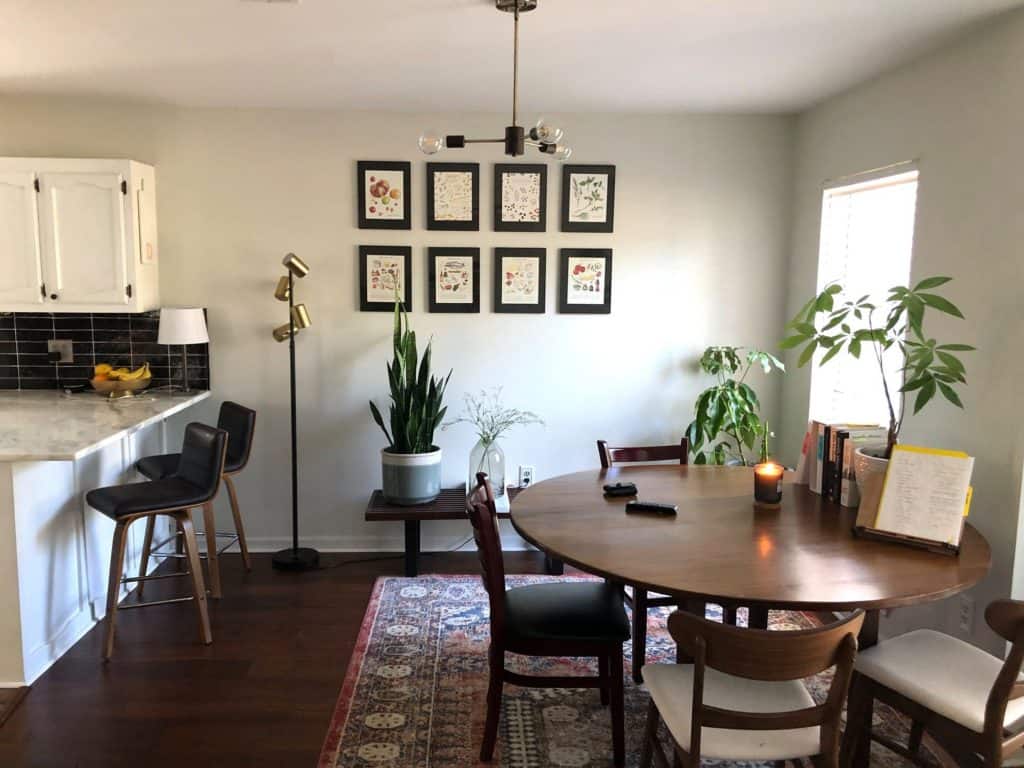
Dining Room / Studio
AFTER
BEFORE
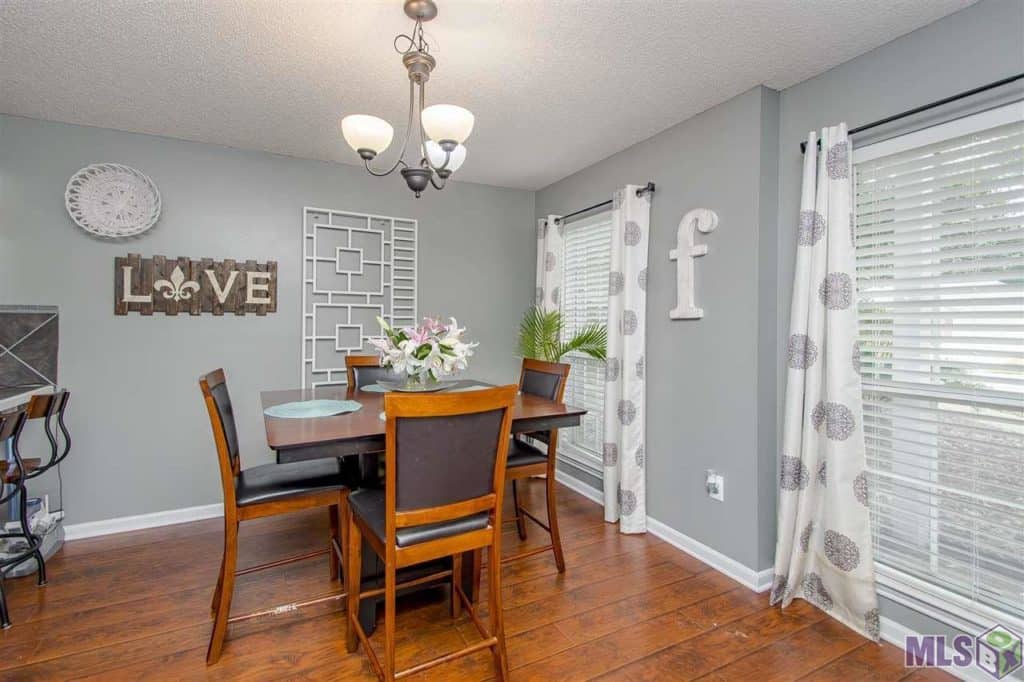
We rarely sat at our dining table, and I noticed we rarely even used it when we hosted people. Guests normally hung out with us on the deck or ate on a bigger pop-up table we had.
So, to make more use of the space, I decided to convert the entire dining area into the Murmurs studio and got rid of the formal dining table. It ended up being the perfect space for the studio because it was attached to the kitchen. I now had space for my desk, styling props, cookbooks, and a food photography station!
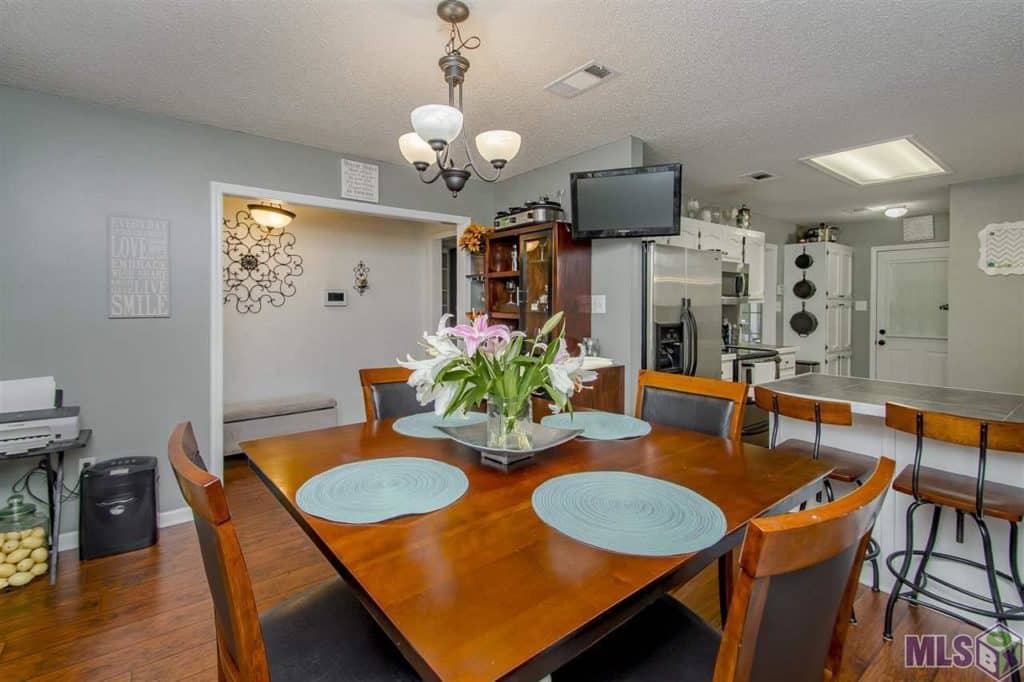
2019: with dining table 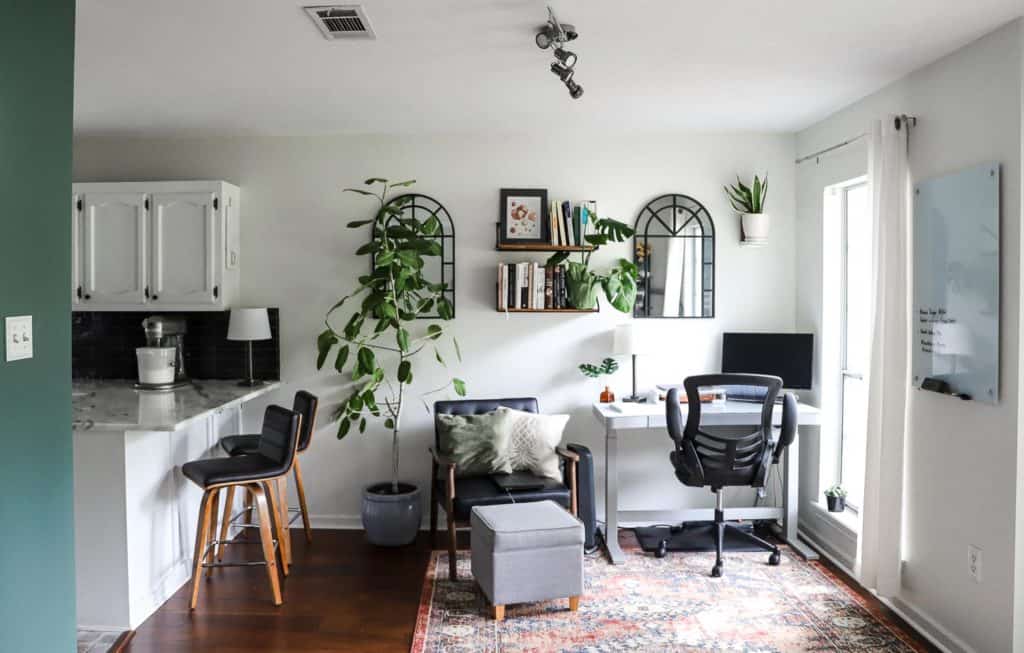
2020: converted to studio/office
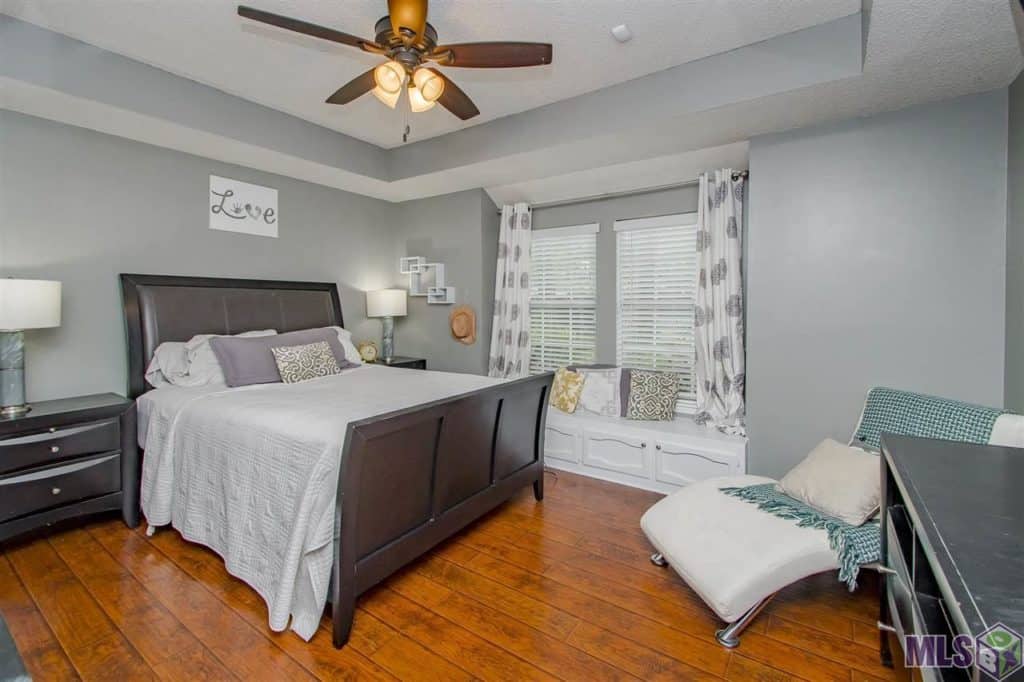
Master Bedroom

Guest Bedroom / Office
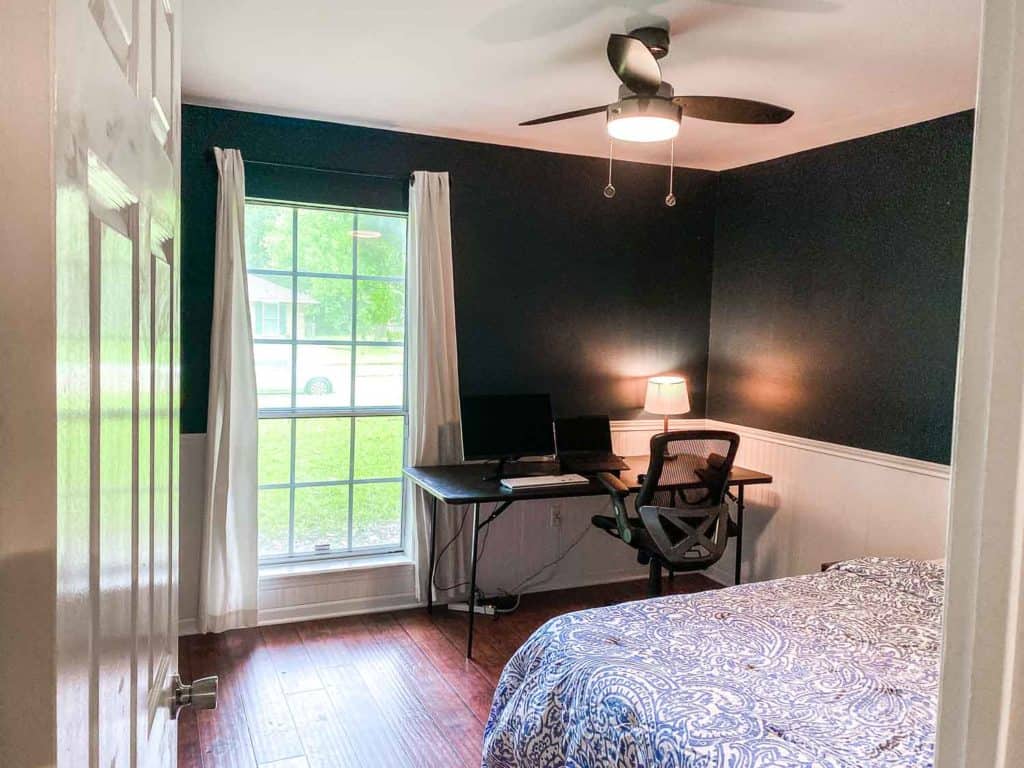
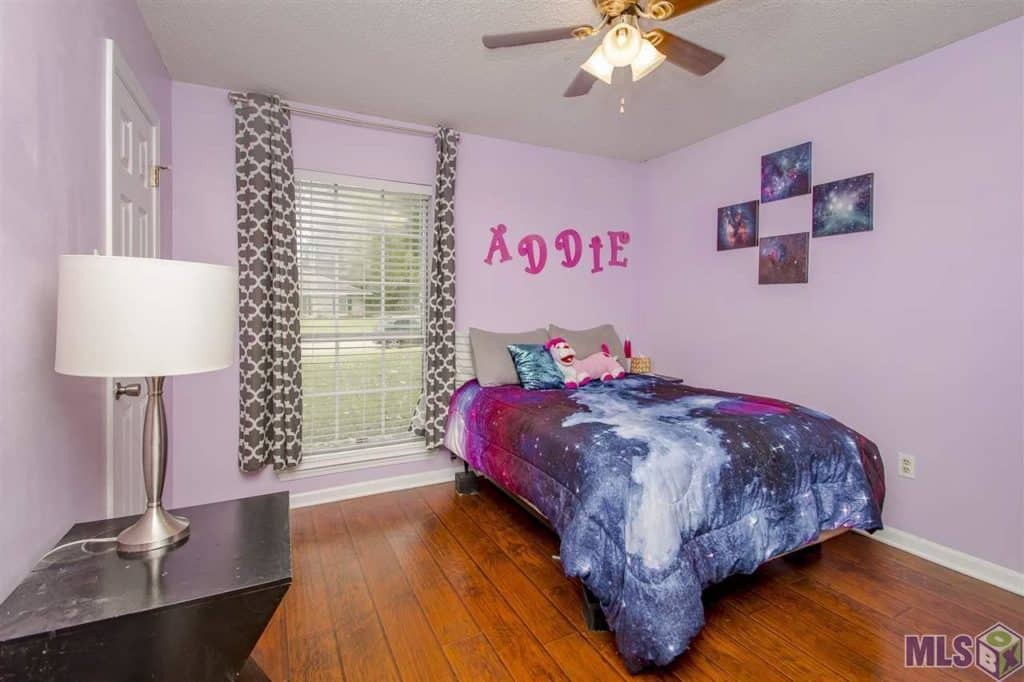
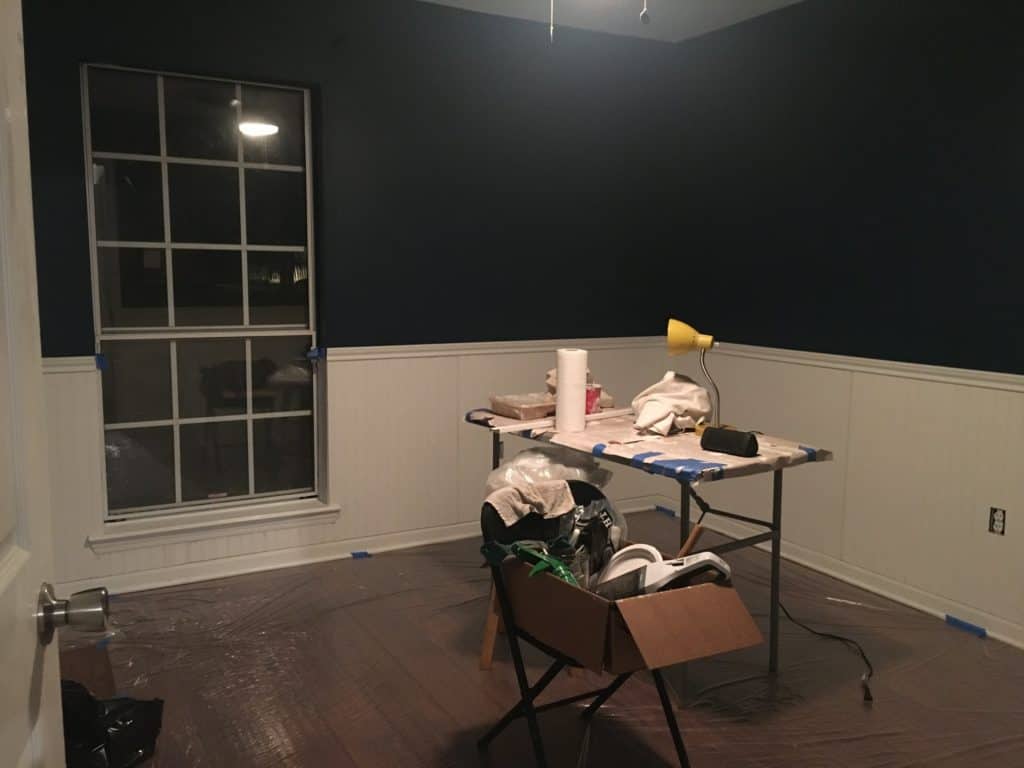
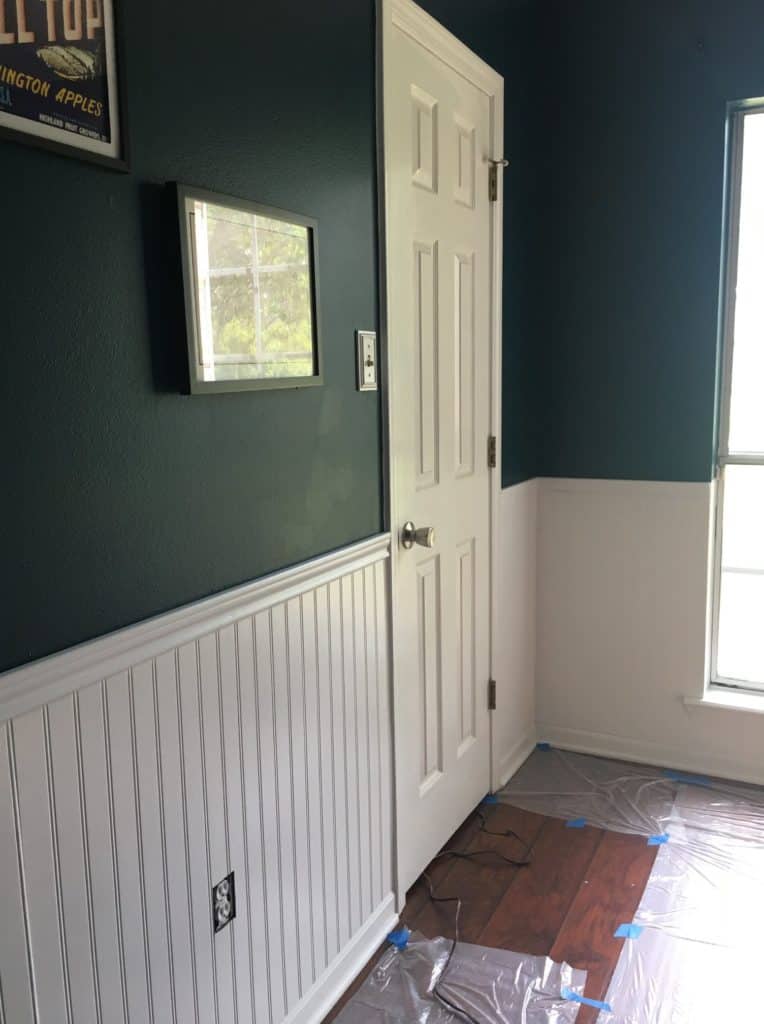
At first, we had the guest room painted entirely midnight blue to create a dark, moody feel to the room. But in the end, I thought it was way too dark, and I didn’t want to spend too much money on decor to balance it out. So I decided to install white wainscoting from Lowe’s along the bottom perimeter to cut the darkness.
What should have taken half a day took me 3.5 days as a first-timer. I didn’t have a pressurized nail gun, so I hammered each nail in one at a time. While I appreciated the learning experience, I’ll definitely be getting a nail gun with a compressor next time :).
IN PROGRESS: INSTALLING WAINSCOTING
Music Room / Dan Cave
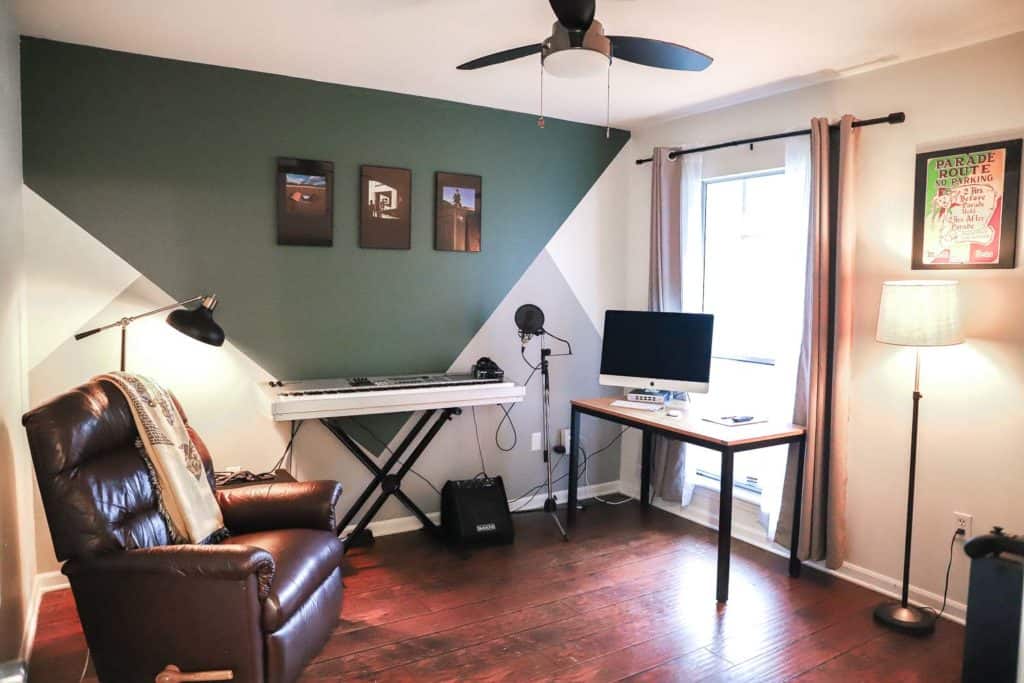
Using good painter’s tape and leftover paint, I free-styled the accent wall in Dan’s music room AKA “Dan Cave”. I love how it came out and so did Dan. Now looking at it, we see inverted mountains, triangles, and the Gmail logo haha.
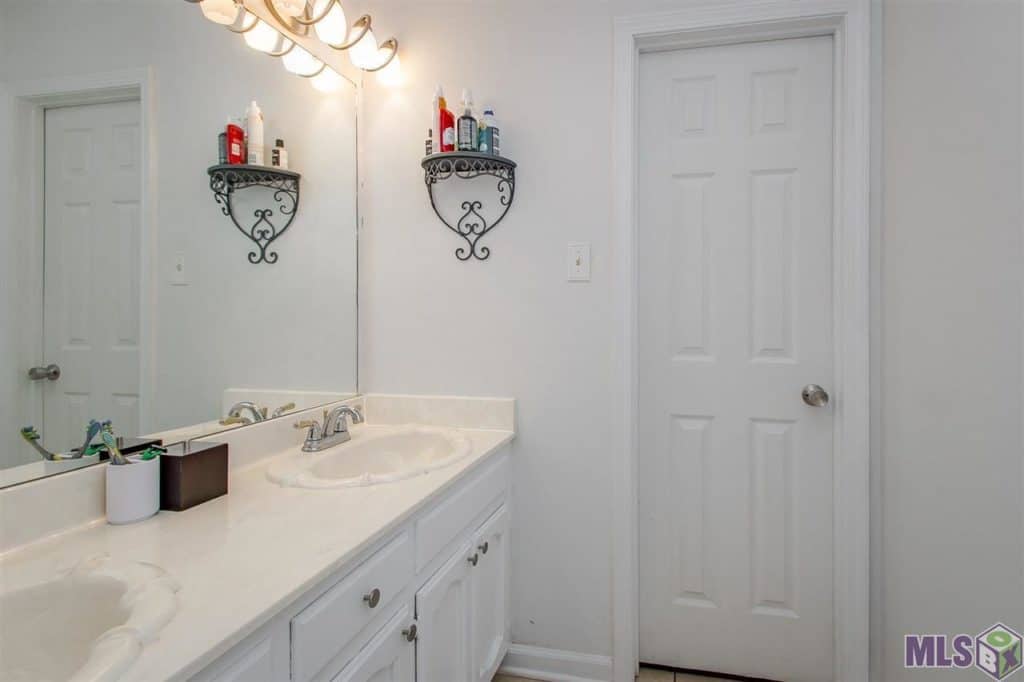
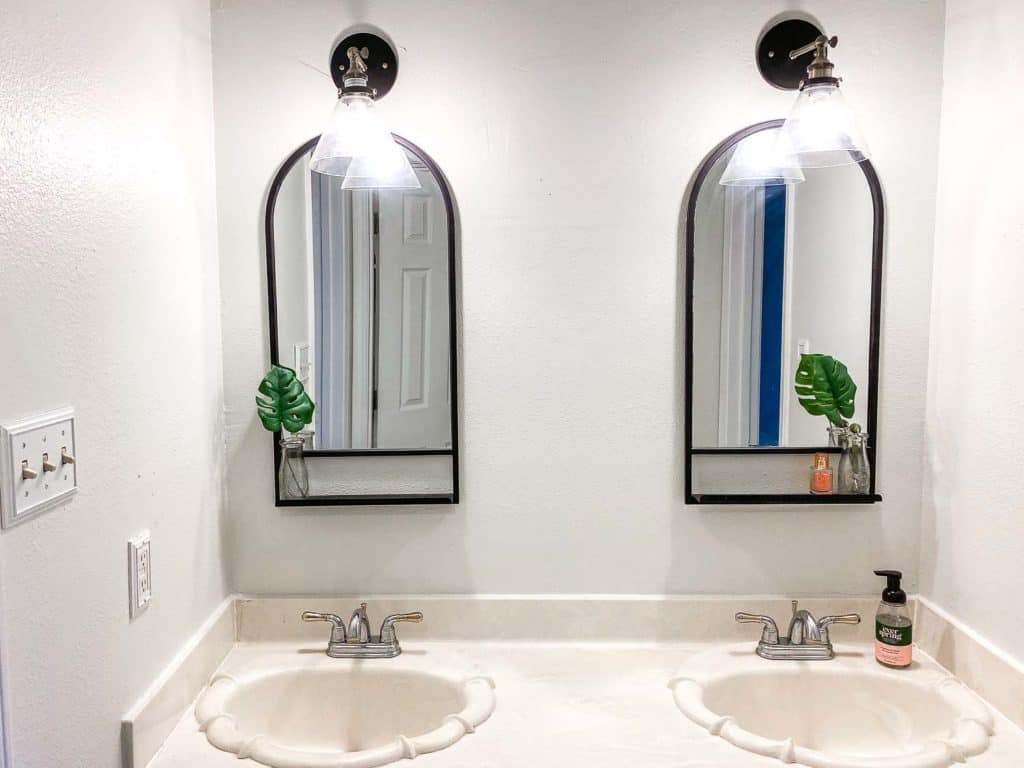
Master Bath
There was so much more I wanted to do to the bathrooms, but by now, I was very mindful of budget and honestly just plain tired. So my approach was to make minor adjustments that would make the most impact in the master bath: (1) replacing the wall-to-wall mirror with two arched mirrors above the sinks and (2) replacing the light fixtures.
-
BEFORE -
BEFORE
These small changes along with the fresh coat of paint from the initial paint project made the bathroom feel rejuvenated. The two-mirror, two-fixture approach played up the symmetry of the two sinks and gave a nod to the fact that it was a couple’s bathroom.
And since those were the only updates, I decided to keep the decor very simple (just added a pop of green with fake greenery) to keep the room feeling clean so that the focal points would be the new mirrors and lights.
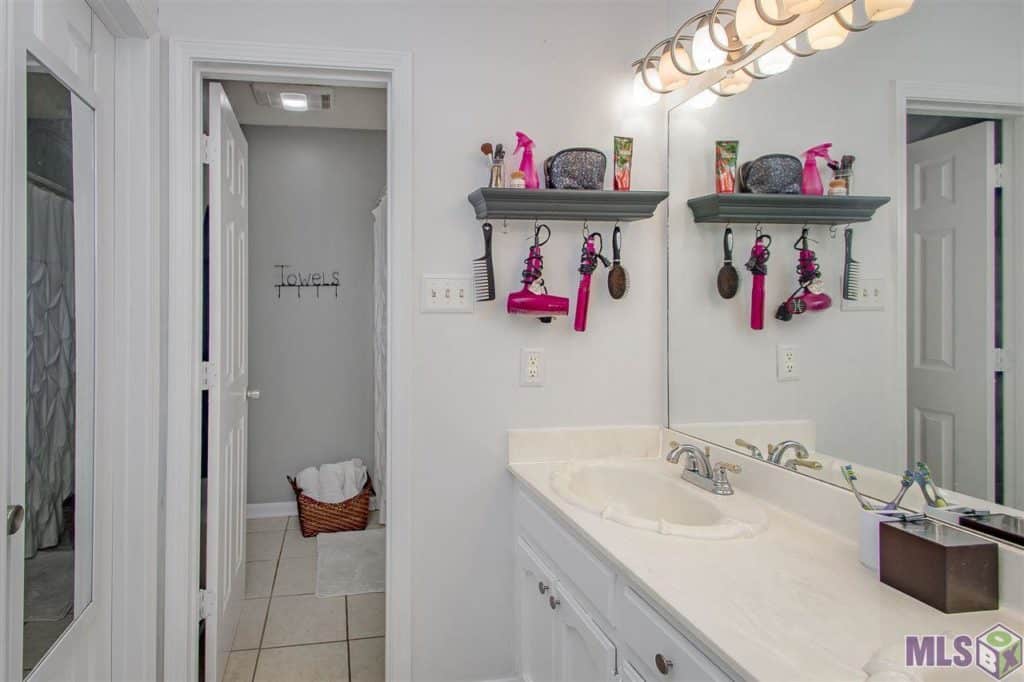
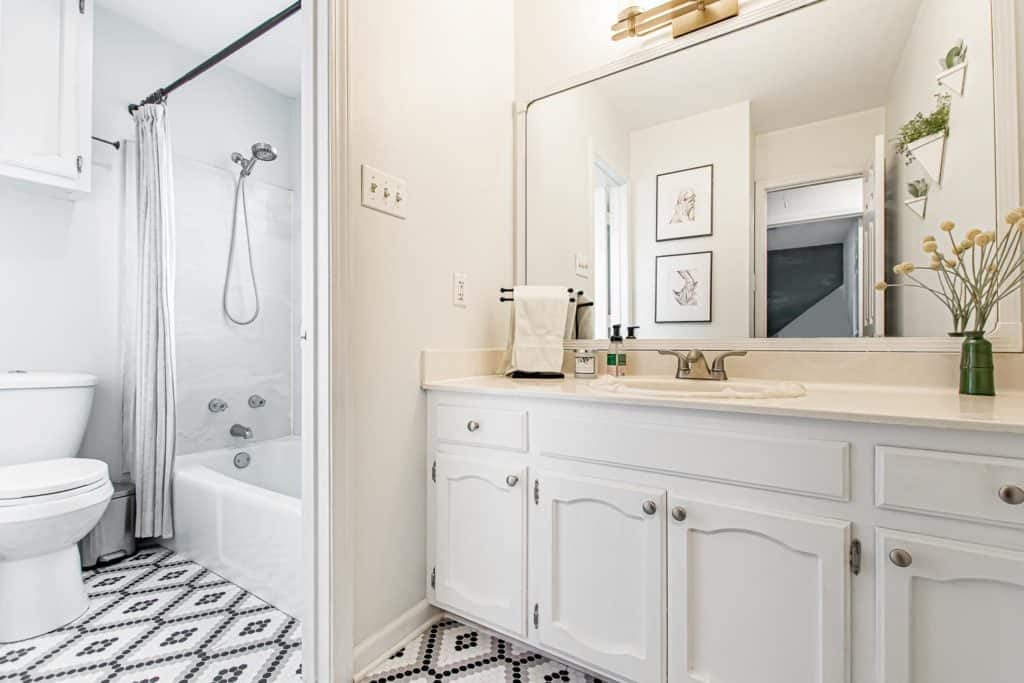
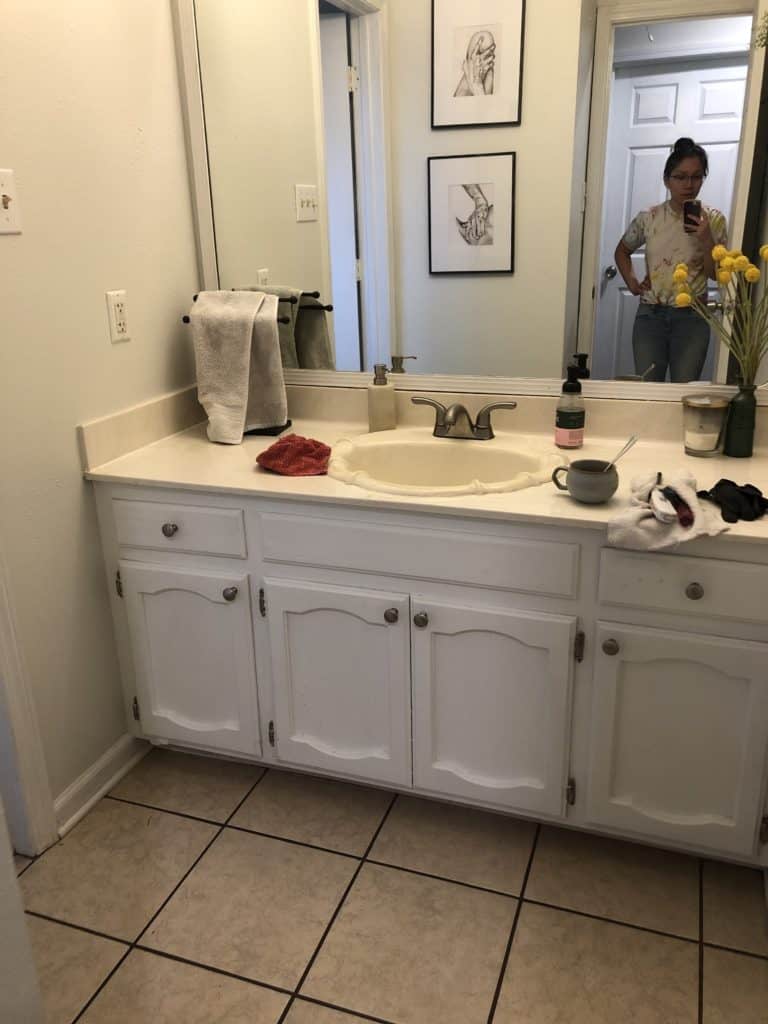
Hall Bath
The same approach applied to the hall bath: minor improvements with major impact. Here, I decided to keep the wall-to-wall mirror because it was so hard to remove lol. Plus, the single-sheet mirror still made sense for the single-sink vanity.
I replaced the light fixture with a 3-light brass fixture from Lowe’s and kept the shower curtain neutral so the natural sunlight could filter through the bathtub window.
-
AFTER 
BEFORE

As for the floors, they were previously a beige tile with dark grout. One day, I just got really tired of them and ordered peel + stick tiles from Amazon. As soon as they came in, I started laying them out and reinforcing the backs with Liquid Nails to make sure they stuck. There was a lot of cutting, but I just used strong scissors and finished the floor in a weekend.
IN PROGRESS: LAYING PEEL + STICK TILES
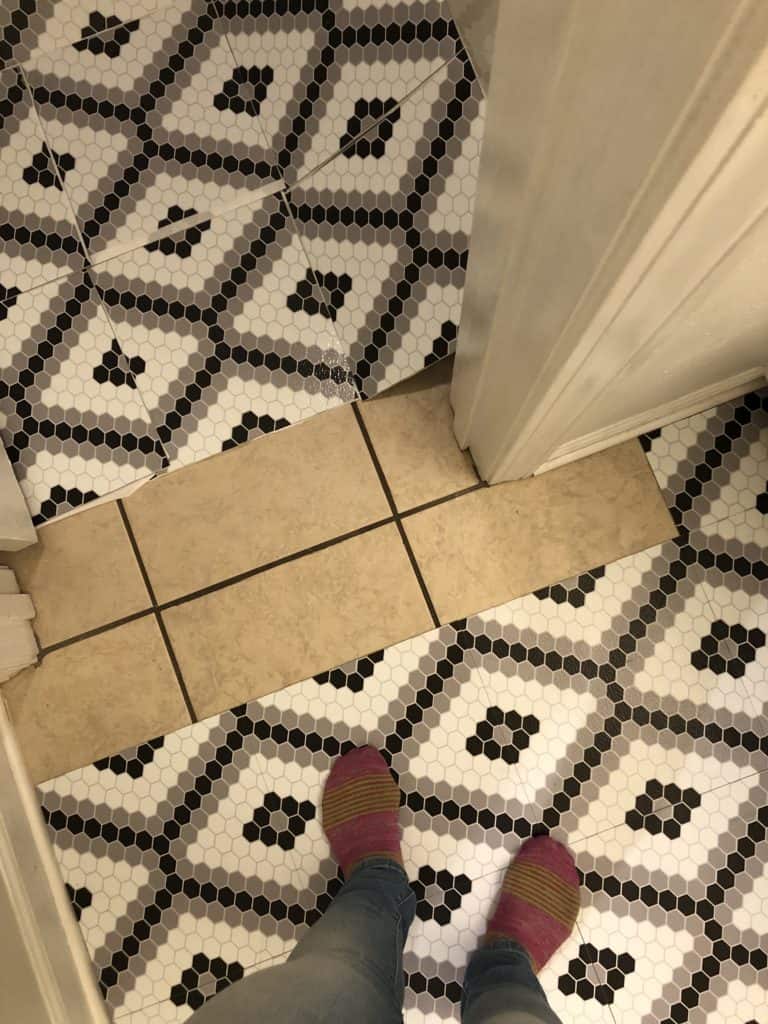
I absolutely loved how much impact these tiles made! I would not recommend installing these in high-traffic areas, but if you have a closet or bathroom you’ve been wanting to update, these tiles were a really inexpensive and easy way to upgrade.
Final Takeaways
This house taught me so much about how to care for a home and also about what I’m capable of with a little bit of Youtube and stubborn dedication to doing things myself. 😂 Each project taught me a new skill and gave the house a mini glow-up.


In the end, we made this house uniquely ours, and every room felt like home. I’m pretty happy to be able to say that now. And since the home has recently sold, I can also say I’m DONE with projects in this house haha.
Until our next house, we’ll be calling our Fort Collins apartment home, and I’m quite happy about the break from home improvement.
I know now that this house was special because of how it made us feel – safe, warm, loved. It was a place we shared memories with so many friends and family. As long as we have that, I will be able to find home anywhere my people are.
Below are a few photos of the gatherings we’ve hosted at the house.


If you made it all the way here, thank you for reading through! This is my first post of this nature, so I’m curious what resonates with you. Leave me a comment below and let me know what you think! Also, if you have any tips + tricks, I’d love to hear them for our next reno.
Cheers,
Maria


Maria, this is so well done! Both the remodels and the write up. That was fun to read, and I can’t wait to see what you do with your next place!
Thank you Kathryn! 🙂